Assembly Instruction
Anuncio
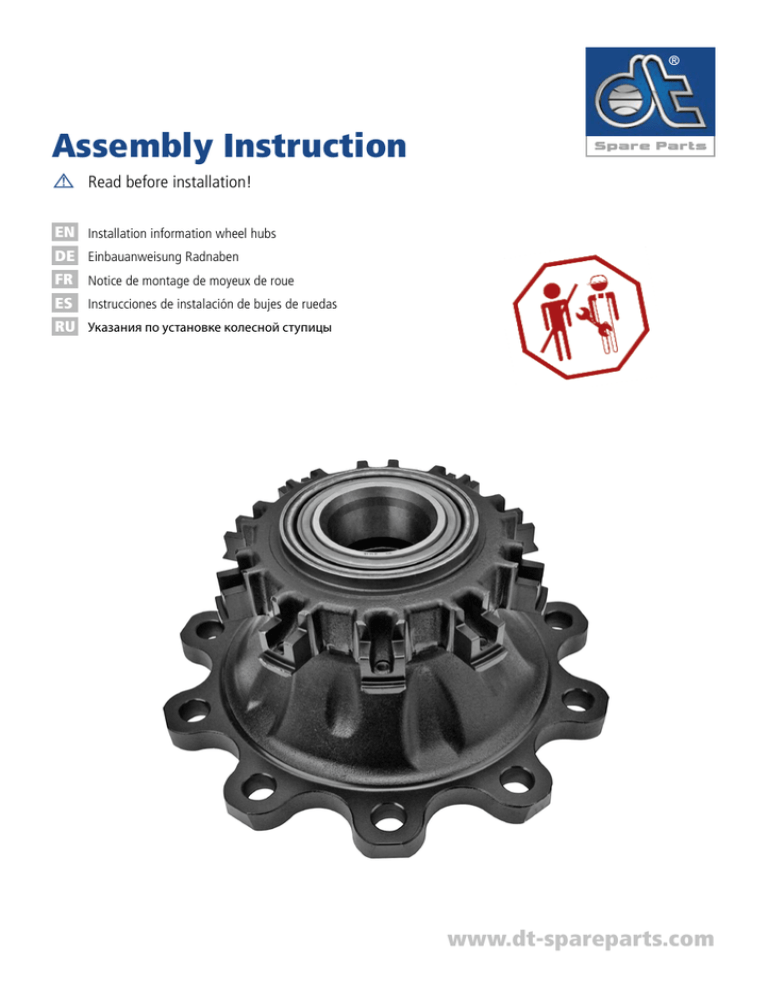
Assembly Instruction Read before installation! EN Installation information wheel hubs DE Einbauanweisung Radnaben FR Notice de montage de moyeux de roue ES Instrucciones de instalación de bujes de ruedas RU Указания по установке колесной ступицы www.dt-spareparts.com EN Installation instruction wheel hubs 1. O-rings, locking ring and seals must be placed correctly on the hub. A faulty position of the locking ring, caused by the transport, will cause oil leakage and premature failure for the bearing. Also missing or damaged seals may cause leakage. 2. Please make sure that oil discharge valve on the differential is clean and fully functional. A Clogged valve will increase the pressure on the differential and may cause oil leaking. Replacing the oil discharge valve is advised by the manufacturer. 3. The drive shaft needs to be replaced in time and may not show any signs of damaged by the old hub. The new hub can only work perfectly with a new drive shaft. The hub profile must be accurately mounted and the seat of the pressure ring on the axle tube has to be cleaned. 4. Any installation must be done with tools which are specified by the OE manufacturer. 5. The axle nut must be in good order and condition. The nut has to be tightened with the torque specified by the OE manufacturer. A wrong mounting could cause a slackness or a failure of the bearings. 6. Any modified or lacquered wheel hubs are excluded from any warranty. 7. After the test drive, the bearing play should be rechecked once again. DE Einbauanweisung Radnaben 1. O-Ringe, Sicherungsringe und Dichtungen müssen korrekt auf der Nabe platziert sein. Ein fehlerhafter Sitz des Sicherungsrings, welcher durch den Transport hervorgerufen wurde, führt zu einem Ölaustritt und vorzeitigem Ausfall des Lagers. Auch fehlende oder beschädigte Dichtungen können eine Undichtigkeit hervorrufen. 2. Bitte achten Sie darauf, dass das Öl-Ablassventil am Differential sauber und funktionstüchtig ist. Ein verstopftes Ventil erhöht den Druck auf das Differential und kann zu einem Ölverlust führen. Der Austausch des Öl- Auslassventil wird vom Hersteller empfohlen. 3. Die Antriebswelle muss rechtzeitig ausgetauscht werden und darf keinerlei Beschädigungen durch die alte Nabe aufweisen. Die neue Nabe kann nur optimal mit einer neuen Antriebswelle funktionieren. Das Nabenprofil muss passgenau montiert und die Sitzfläche des Druckrings auf dem Achsrohr gereinigt werden. 4. Jegliche Montage muss mit Werkzeug durchgeführt werden, welches vom OE Hersteller vorgeschrieben wird. 5. Die Achsmutter darf keinerlei Beschädigungen aufweisen. Sie muss mit dem vom Originalhersteller vorgeschriebenen Anzugsdrehmoment montiert werden. Eine fehlerhafte Montage kann zu einem zu großen Lagerspiel oder zum Versagen des Lagers führen. 6. Alle modifizierten oder lackierten Radnaben sind von der Garantie ausgenommen. 7. Nach erfolgter Probefahrt sollte das Lagerspiel erneut geprüft werden. www.dt-spareparts.com FR Notice de montage de moyeux de roue 1. Les bagues étanchéité, bagues de sûreté et joints doivent être correctement placés sur le moyeu. Un mauvais emplacement de la bague de sécurité dû au transport peut entraîner des fuites d’huile et une panne prématurée du roulement. Des joints manquants ou endommagés peuvent également entraîner une perméabilité. 2. Assurez-vous que la soupape de vidange sur l’engrenage est propre et fonctionnel. Une soupape bouchée augmente la pression sur l’engrenage et peut entraîner une perte d’huile. Le remplacement de la soupape de vidange est recommandé par le fabricant. 3. L’arbre moteur doit être remplacé en temps voulu et ne présenter aucun endommagement dû à l’ancien moyeu. Le nouveau moyeu ne peut fonctionner de manière optimale qu’avec un nouvel arbre moteur. Le profil de moyeu doit être parfaitement monté et la portée sur le siège du joint de pression sur le tuyau de l’essieu propre. 4. Tout montage doit être effectué avec des outils prescrit par le fabricant d’origine. 5. L’écrou d’essieu ne doit aucun cas être endommagé. Il doit être monté avec le couple de serrage prescrit par le fabricant d’origine. Un mauvais montage peut entraîner un jeu trop grand ou une panne du roulement. 6. Tous les essieux de roue modifiés ou vernis sont garantis. 7. Après un trajet à l’essai, le jeu doit de nouveau être contrôlé. ES Instrucciones de instalación de bujes de ruedas 1. Las juntas tóricas, los anillos de seguridad, y las juntas deben estar correctamente colocados en el buje. Un asiento defectuoso del anillo de seguridad, ocasionado por el transporte, puede producir una pérdida de aceite y un fallo prematuro del cojinete. Asimismo, la falta de juntas o juntas dañadas pueden producir fugas. 2. Asegúrese de que la válvula de purga de aceite del diferencial esté limpia y funcione correctamente. Una válvula obstruida aumenta la presión en el diferencial y puede producir pérdidas de aceite. El fabricante recomienda sustituir la válvula de purga de aceite. 3. El eje de accionamiento se debe sustituir a su debido tiempo, y no debe presentar ningún tipo de daño ocasionado por el antiguo buje. El nuevo buje sólo puede funcionar de manera óptima con un nuevo eje de accionamiento. El perfil del buje se debe montar de manera precisa, y la superficie de asiento del anillo de presión del tubo del eje debe estar limpia. 4. Cualquier instalación se debe llevar a cabo con las herramientas especificadas por el fabricante OEM. 5. La tuerca del eje no debe presentar ningún daño. Se debe realizar el montaje con el par de apriete especificado por el fabricante. Un montaje erróneo puede producir una holgura del cojinete demasiado grande o un fallo en el cojinete. 6. No quedan cubiertos por la garantía los bujes de ruedas modificados o pintados. 7. Una vez concluida la prueba, se debería comprobar de nuevo la holgura del cojinete. www.dt-spareparts.com RU Указания по установке колесной ступицы 1. Уплотнительные, предохранительные кольца и уплотнения должны правильно располагаться на ступице. Неточная посадка предохранительного кольца, нарушенная в процессе транспортировки, приводит к утечке масла и преждевременному выходу подшипника из строя. Отсутствие или повреждение уплотнений также может стать причиной негерметичности. 2. Проследите за тем, чтобы спускной масляный клапан на дифференциале был чистым и функционировал исправно. Засоренный клапан увеличивает давление на дифференциал и может привести к утечке масла. Замена выпускного масляного клапана рекомендуется производителем. 3. Замена приводного вала должна производиться в своё время в целях предотвращения повреждений, вызванных изношенной ступицей. Новая ступица может оптимально функционировать только в сочетании с новым приводным валом. Профиль ступицы должен быть монтирован точно, а место установки уплотнительного кольца на кожухе полуоси должно быть очищено. 4. Любой монтаж должен производиться с использованием инструментов, предписанных производителем оригинальных запасных частей. 5. Осевая гайка не должна иметь никаких повреждений. Устанавливать ее следует моментом затяжки, по рекомендации производителя оригинальных запасных частей. Неправильный монтаж может привести к слишком большому зазору в подшипниках или к поломке подшипника. 6. На модифицированные или окрашенные ступицы колес гарантия не распространяется. 7. После произведенной пробной поездки следует еще раз проверить зазор в подшипниках. DB3853 DIESEL TECHNIC AG Wehrmannsdamm 5-9 27245 Kirchdorf / Germany Phone +49 (0) 4273 89-0 Fax +49 (0) 4273 89-89 eMailinfo@dieseltechnic.com dt® – a trademark of Diesel Technic AG, Germany – www.dieseltechnic.com © by Diesel Technic AG, Germany. All specifications and data are subject to change without notice. All trademarks used, whether recognized or not, are the properties of their respective owners.
