THE ASSEMBLY INSTRUCTION OF OPP Rectangular Table
Anuncio
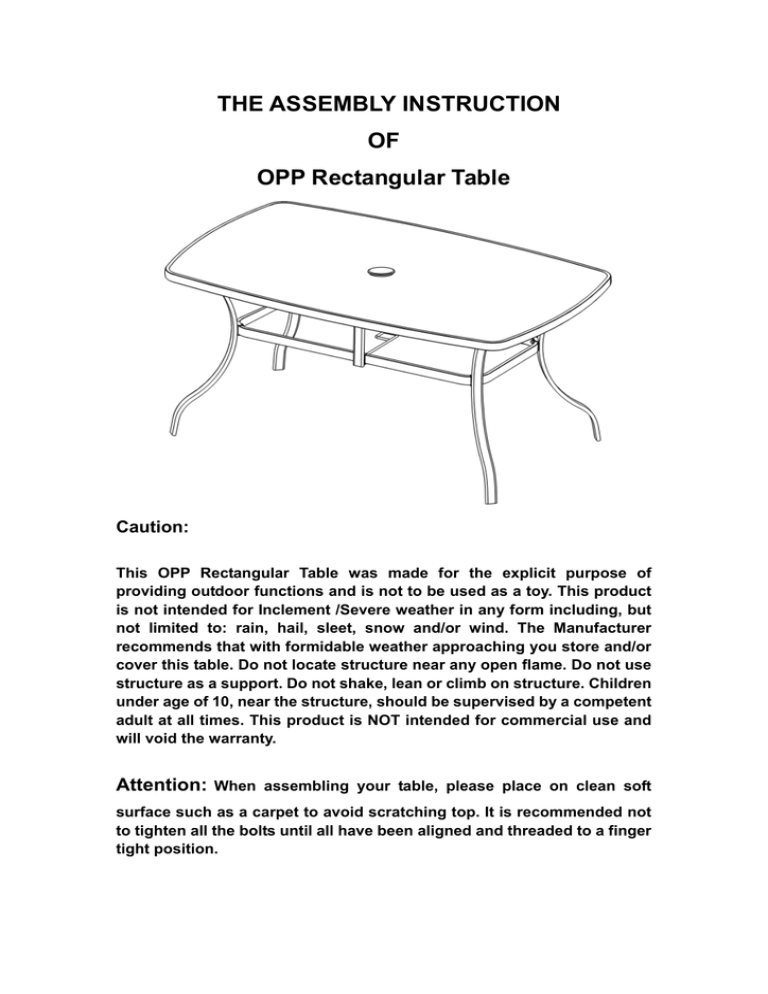
THE ASSEMBLY INSTRUCTION OF OPP Rectangular Table Caution: This OPP Rectangular Table was made for the explicit purpose of providing outdoor functions and is not to be used as a toy. This product is not intended for Inclement /Severe weather in any form including, but not limited to: rain, hail, sleet, snow and/or wind. The Manufacturer recommends that with formidable weather approaching you store and/or cover this table. Do not locate structure near any open flame. Do not use structure as a support. Do not shake, lean or climb on structure. Children under age of 10, near the structure, should be supervised by a competent adult at all times. This product is NOT intended for commercial use and will void the warranty. Attention: When assembling your table, please place on clean soft surface such as a carpet to avoid scratching top. It is recommended not to tighten all the bolts until all have been aligned and threaded to a finger tight position. LIMITED WARRANTY Yotrio Corporation, City of Industry, CA. 91748, extends a one year frame limited warranty to the original purchaser as a sign of our dedication to the highest possible quality standards. The warranty is designed to cover this OPP Rectangular Table under normal residential use. This Warranty is non-transferable and void if the furniture is used in non-residential environment and/or has been abused. The warranty also becomes void in the event the OPP Rectangular Table has been damaged by acts of God, calamity or misuse. This warranty does not cover in the event of inclement weather such as rain, hail, sleet, snow or wind. We reserve the right to make substitutions with similar merchandise, if the model in questions is no longer in production. The manufacturer recommends that with ANY formidable weather approaching you disassemble and store your OPP Rectangular Table in a safe location.” For further details please refer to the CAUTION warning section of this Assembly instruction. CARE INSTRUCTIONS For best results, clean frame with damp cloth and dry thoroughly. This will help prevent mildew by removing dirt particles that may accumulate. Do not use abrasive materials or cleaners. In order to prolong the life of your table when not in use or inclement weather (rain, hail, sleet, snow, wind), fire, extreme heat and freezing conditions, the table needs to be stored in a dry, sheltered place. In addition, when not in use your table needs to be stored. DO NOT RETURN TO RETAILER IF YOU HAVE ANY QUESTIONS OR CONCERNS PLEASE VISIT OUR WEBSITE AT: www.yotrioint.com OR TOLL FREE AT: 1-866-905-4107 MONDAY-FRIDAY 8:30 AM TO 5:00 PM PACIFIC STANDARD TIME / 11:30 AM TO 8:00PM EASTERN STANDARD TIME YOTRIO CUSTOMER CARE Warranty Coverage Requirements: 1. Copy of your Original Store Receipt. 2. Pictures of the damaged parts. 3. You must know the name of your product and any corresponding item numbers as well as the name of the store where you purchased the item. 4. Please gather all of this information BEFORE you call customer service. ASSEMBLY INSTRUCTION OF OPP RECTANGULAR TABLE FTS00502J Part list Description Qty A Table top 1 B Table leg B C Table leg C 2 D Leg connector 1 E Bolt E F Washer 12 G Bolt cover 12 H Wrench 1 I Table ring 1 J Bolt J 4 4 Step 1: Lay down the Table Top (A) on a soft surface such as a blanket; assemble the Table Leg (B) together with Table Top (A). Please see Fig. 1 Repeat this step 3 times to assemble other 3 legs. 12 Step 3: Turn the table upside down and put the Table Ring (I) on it. Please see Fig. 3 Fig. 3 Fig. 1 Fig. 2 Step 2: Assemble the Table Top (A) together with the Table legs(C) by using Bolt (J). Tighten the Bolts (J). Assemble the Leg Connector (C) together with the assembled Table Legs (B) by using Bolt (E) and Washer (F). Use Wrench (H) to place the Bolt (E). But do not tighten them. Please tighten all of Bolts by using Wrench (H) after all legs and leg connector are assembled and put on the Bolt Covers (G) on the Bolts (E). Please see Fig. 2 INSTRUCCIONES DE ENSAMBLAJE DE la Mesa Rectangular de OPP Precaución: La función explícita de esta Mesa Rectangular de OPP es ser utilizada en exteriores y no se debe usar como un juguete. Este producto no está diseñado para su uso durante mal tiempo/clima riguroso en ninguna de sus formas, entre otros: lluvia, granizo, nieve o viento. El Fabricante recomienda que guarde y/o cubra esta mesa cuando el clima se ponga peligroso. No coloque la estructura cerca de ninguna llama expuesta ni la utilice como soporte. No la sacuda, no se apoye ni trepe en la estructura. Un adulto competente debe supervisar en todo momento a los niños menores de 10 años que se encuentren cerca de la estructura. Este producto no está diseñado para su uso comercial; en caso de utilizarlo para tal fin, se anulará la garantía. ATENCIÓN: En el momento de ensamblar su mesa, hágalo sobre una superficie suave y limpia, puede ser sobre un tapete o algo similar; esto evitará que se raye la superficie de la mesa. Antes de apretar los pernos con una herramienta, asegúrese de que se encuentren perfectamente alineados y apriételos todos primero utilizando solo su mano. GARANTÍA LIMITADA Yotrio Corporation, City of Industry, CA. 91748 extiende una garantía limitada de un año para la estructura al comprador original como un signo de nuestra dedicación a cumplir con los estándares más altos de calidad posibles. La garantía está diseñada para cubrir esta Mesa Rectangular de OPP en condiciones de uso residencial normal. Esta Garantía no es transferible y se anulará si el mueble se usa en entornos no residenciales y/o sufre abuso. La garantía se anula en el caso de que la Mesa Rectangular de OPP se dañe debido a desastres naturales, calamidades o uso incorrecto. Esta garantía no cubre inclemencias del tiempo como lluvia, granizo, nieve o viento. Nos reservamos el derecho de sustituir el producto por mercancía similar, si el modelo en cuestión ya no se fabrica. El fabricante recomienda que desarme su Mesa Rectangular de OPP y la guarde en un lugar seguro cuando el clima se ponga peligroso. Si desea obtener más detalles, consulte la sección PRECAUCIÓN de estas Instrucciones de Ensamblaje. INSTRUCCIONES DE MANTENIMIENTO Para obtener mejores resultados, limpia el armazón con un paño húmedo y seca completamente. Esto ayudará a prevenir el moho al quitar las partículas de polvo que se puedan acumular. No utilices limpiadores o materiales abrasivos. Para prolongar la vida útil de tu mesa cuando no la estés usando o durante un clima severo (lluvia, granizo, aguanieve, nieve, viento), fuego, calor extremo o congelamiento, debes guardarla en un lugar seco y protegido. Además cuando no vayas a usarla, debes guardar la mesa. ALTO NO DEVOLVER AL MINORISTA SI TIENES PREGUNTAS O INQUIETUDES VISITA NUESTRO SITIO WEB: www.yotrioint.com O LLAMA AL NÚMERO GRATUITO: 1-866-905-4107 DE LUNES A VIERNES, DE 8:30 A.M. A 5:00 P.M. HORA ESTÁNDAR DEL PACÍFICO / DE 11:30 A.M. A 8:00 P.M. HORA ESTÁNDAR DEL ESTE SERVICIO AL CLIENTE DE YOTRIO Requisitos para la cobertura de la garantía: 1. Copia del recibo original de compra. 2. Imágenes de la pieza dañada. 3. Debes conocer el nombre de tu producto y cualquier otro número del artículo correspondiente así como el nombre de la tienda donde lo compraste. 4. Por favor reúne toda esta información ANTES de contactar con el servicio al cliente. INSTRUCCIONES DE ENSAMBLAJE DE LA MESA RECTANGULAR DE OPP FTS00502J Lista de piezas Descripción Cant. Paso 1: Coloque la Tabla de la Mesa (A) mirando hacia abajo en una superficie Tabla de la mesa A 1 de la Mesa (B) con la Tabla de la Mesa (A). Consulte la Fig. 1 Pata de la mesa B 4 C Pata de la mesa C 2 D Conector de la pata 1 B suave como una manta, ensamble la Pata Repita este paso 3 veces para ensamblar las otras 3 patas. 12 Fig. 1 E Perno E F Arandela 12 G Tapa del perno 12 H Llave 1 I Anillo de la mesa 1 J Perno J 4 Fig. 2 Paso 2: Ensamble la Cubierta de la Mesa (A) a Paso 3: Dé vuelta la mesa y coloque el Anillo las patas de la Mesa (C) con Pernos (J). Ajuste de la Mesa (I). Consulte la Fig. 3 los Pernos (J).Ensamble el Conector de la Pata (C) con las Patas de la Mesa (B) ensambladas con el Perno (E) y la Arandela (F). Use la Llave (H) para colocar el Perno (E), pero no los ajuste. Ajuste todos los Pernos con la Llave (H) luego de que todas las patas y el conector de la pata estén ensamblados y coloque las Tapas de Pernos (G) en los Pernos (E). Consulte la Fig. 2 Fig. 3 Fig. 3
