ROUGH-IN - Home Depot
Anuncio
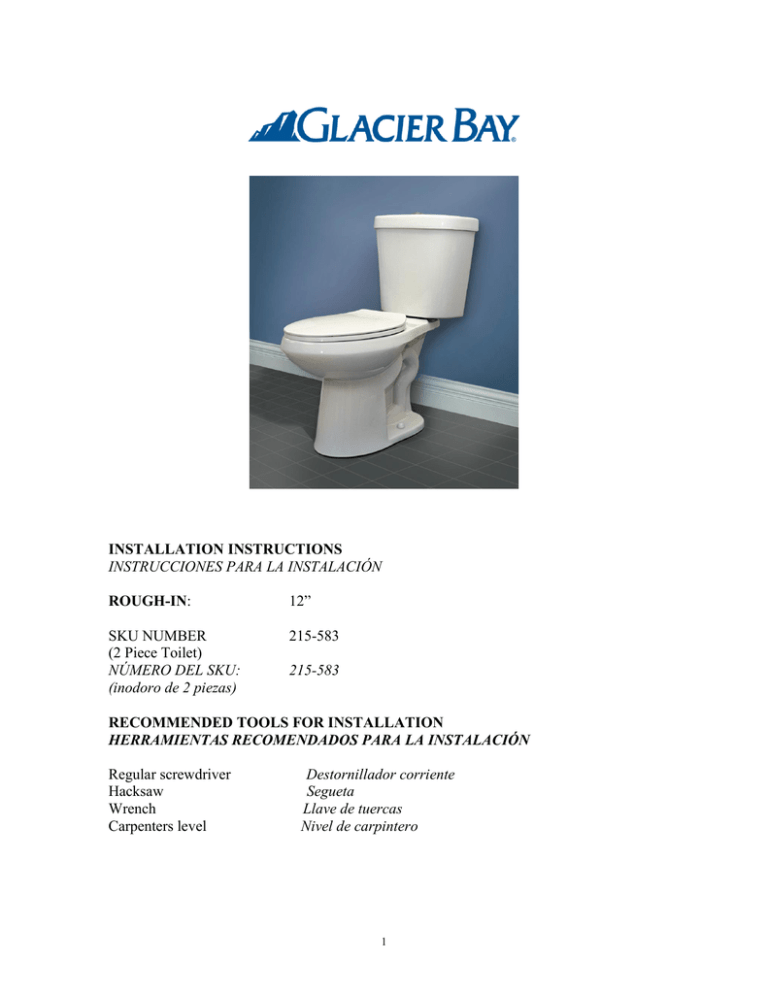
INSTALLATION INSTRUCTIONS INSTRUCCIONES PARA LA INSTALACIÓN ROUGH-IN: 12” SKU NUMBER (2 Piece Toilet) NÚMERO DEL SKU: (inodoro de 2 piezas) 215-583 215-583 RECOMMENDED TOOLS FOR INSTALLATION HERRAMIENTAS RECOMENDADOS PARA LA INSTALACIÓN Regular screwdriver Hacksaw Wrench Carpenters level Destornillador corriente Segueta Llave de tuercas Nivel de carpintero 1 REMOVING YOUR OLD TOILET PARA QUITAR EL INODORO VIEJO 1 – Turn off the water supply. 1 – Cierre las llaves de paso del suministro de agua. 2 – Flush the toilet to empty tank. Remove any water left in the tank or bowl. 2 – Mueva la palanca para vaciar el tanque. Si queda agua en el tanque o en la taza, sáquela. 3 – Disconnect the supply line from the tank. 3 – Desconecte la línea de suministro del tanque. 4 - Remove decorative caps. Unscrew nuts that attach the toilet to the floor. 4 – Quite las tapas decorativas. Destornille las tuercas que fijan el inodoro al piso. 5 – Remove toilet. 5 – Saque el inodoro. INSTALLING YOUR NEW TOILET PARA INSTALAR EL INODORO NUEVO 1 – Be sure the water supply valve is shut-off before installation. 1 – No se olvide de cerrar las llaves de paso de la alimentación antes de hacer la instalación. 2 – Remove old closet bolts from closet flange. Clean any old wax, putty etc from base area. 2 - Saque los pernos viejos de la brida de fijar la taza. Limpie bien cualquier cera vieja, masilla, etc. que quede en el lugar donde va la base. 3 – Install new closet bolts into closet flange. (see Fig 1) NOTE: You can pre-cut the closet bolts to the desired length to put on the bolt cap by doing the following: 3 – Instale los nuevos pernos para la taza en la brida de fijar la taza, (ver Fig1) NOTA: Puede cortar los pernos con anterioridad al tamaño que desea, para poder ponerles la tapa decorativa, haciendo lo siguiente: Temporarily install closet bolts; Instale los pernos temporalmente; Set the toilet and place the washers and nuts onto bolts; Ponga el inodoro en su lugar y pong alas arandelas y tuercas en los pernos; Mark the length needed; Marque el largo que necesita; Take toilet out of the place; 2 Saque el inodoro de su lugar; Take out the closet bolts; Saque los pernos de fijar la taza; Cut the closet bolts to the length. Corte los pernos de fijar la taza para que queden del largo necesario. 4 – Turn the toilet upside down onto a soft surface to avoid scratches on the finish. (see Fig 2) 4 – Ponga el inodoro al revés sobre una superficie suave para evitar que se arañe el acabado. (Ver Fig 2) 5 – Place a new wax ring around the waste flange. 5 – Ponga un nuevo anillo (empaque) de cera alrededor de la brida de desagüe. 6 – Lower the toilet onto the closet bolts, so the bolts project through mounting holes in base of toilet. (see Fig 3) 6 – Ponga el inodoro sobre los pernos de fijar la taza, de modo que los pernos sobresalgan de los agujeros de montaje que está en la base del inodoro. (ver Fig 3) 7 – Using a rocking motion, press the bowl down to seat the toilet onto flange. 7 – Moviendo la taza ligeramente de un lado a otro, apriétela hacia abajo para encajar el inodoro en la junta. 8 – Loosely install rubber washers, followed by metal washers and nuts onto the T-bolts. 8 - Ponga las arandelas de caucho seguidas de las arandelas de metal y de las tuercas en los pernos de fijar la tasa pero no los apriete todavía. 9 – Tighten the bolts alternately until toilet is firmly seated on the floor. CAUTION: DO NOT OVERTIGHTEN NUTS, SEVERE DAMAGE MAY OCCUR. 9 – Apriete los pernos alternado entre uno y otro hasta que el inodoro quede bien encajado en el piso. PRECAUCIÓN: NO APRIETE LAS TUERCAS MÁS DE LA CUENTA, YA QUE ESTO PUEDE CAUSAR GRAN DAÑO. 10 – Install the decorative bolt caps. 10 - Póngale las tapas decorativas a los pernos. 3 INSTALLING YOUR TANK LA INSTALACIÓN DEL TANQUE 1 – Turn the tank upside down. Slide wide end of Tank to Bowl Gasket onto threaded shank, stretch gasket over locknut. Turn the tank upright. (See Fig 4) 1 - Vire el tanque al revés e instale la junta de caucho alrededor del agujero roscado. Enderece el tanque. (Ver Fig 4) 2 – Insert tank mounting bolts with metal washer and rubber washer from inside the tank through the mounting holes, and secure with metal washers and nuts on the other side by using a wrench. CAUTION: DO NOT OVERTIGHTEN NUTS, SEVERE DAMAGE MAY OCCUR. 2 – Introduzca los pernos de montaje, con las arandelas de metal y caucho desde dentro del caucho seguida de la arandelade metal y de la tuerca y apretarlo con la llave. PRECAUCIÓN: NO APRIETE LAS TUERCAS DEMASIADO, YA QUE HACERLO PUEDE CAUSAR GRAN DAÑO. 3 – Lower tank onto bowl so that tapered end of gasket fits around bowl water inlet opening. 3 –Ponga el tanque sobre la taza de modo que la parte ahusada de la junta encaje en el agujero para la entrada de agua en la taza. 4 – Use the metal washer and winged nut to secure tank to bowl, tighten the nuts alternately until the tank is seated evenly on the bowl surface, making the necessary adjustments. CAUTION: DO NOT OVERTIGHTEN NUTS, SEVERE DAMAGE MAY OCCUR. 4 – Utilice la arandela de metal y la tureca mariposa para sujetar eltanque a la taza de baño, apriete las tuercas alternado entre ena y otra hasta que el tanque encaje parejo sober la superficie de la taza haciendo los ajustes necesarios para esto. PRECAUCIÓN: NO APRIETE LAS TUERCAS DEMASIADO, YA QUE HACERLO PUEDE CAUSAR GRAN DAÑO. 5 – Connect the water supply line to fill valve, tighten coupling nut and turn on the water. (Check for leaks) CAUTION HAND TIGHTEN ONLY – DO NOT USE PLUBMERS PUTTY TO SEAL THESE FITTINGS. DO NOT OVERTIGHTEN 5 –Conecte la linea se suministro de aqua para llenar la válvula, ajuste las tuercas de acoplamiento y abra la canilla. PRECAUCIÓN AJUSTE A MANO UNICAMENTE: PRECAUCIÓN NO UTILICE MASILLA DE PLOMERO PARA SELLAR ESTOS CONECTORES. 4 WATER LEVEL ADJUSTMENTS AJUSTES AL NIVEL DEL AGUA 1 –Submerge the float cup under the water for 30 seconds. (see Fig 5) 1 – Sumerja la válvula flotante en el agua durante 30 segundos. (Ver Fig 5) 2 – Adjust the water level to the mark on the flush valve by turning the water level adjustment rod to move the float cup up turn the water adjustment rod in a clockwise direction to lower the water level turn counterclockwise. 2 – Ajuste el nivel de agua hasta la marca que se encuentra en la válvula de descarga; para hacerlo, gire la varilla de ajuste del nivel de agua y mueva la válvula flotante hacia arriba o hacia abajo. 5 ADJUSTMENT OF WATER FLOW FOR DUAL FLUSH ADJUSTMENT OF FULL FLUSH VOLUME ADJUSTMENT OF HALF FLUSH VOLUME ADJUSTMENT OF PUSH BUTTON FOR CORRECT STATE 6 AJUSTE DEL NIVEL DE AGUA PARA DOBLE DESCARGA AJUSTE DEL VOLUMEN PARA DESCARGA COMPLETA AJUSTE DEL VOLUMEN PARA DESCARGA MEDIA AJUSTE DEL BOTÓN PULSADOR EN LA POSICIÓN ADECUADA 7 TOILET SEAT INSTALLATION INSTRUCTIONS INSTALACIÓN DE LA TAPA DEL INODORO 1 – Place the seat on the toilet, aligning the holes of the seat with the holes in the back of the toilet bowl. 1 – Colocar la tapa sobre el inodoro, alinear los agujeros de la tapa con los agujeros de tras del inodoro. 2 – Insert the screw through the holes to secure it with the nut from the bottom of the toilet, with the nut’s tapered end on top. 2 – Introduzca el tornillo através de los agujeros y seguralo abajo del inodoro con la tuerca, posicionando el lado afilado de la tuerca en cima. 3 – Secure nut from the bottom of the toilet, use a regular screwdriver for tighter fit. (See picture) CAUTION: DO NOT OVERTIGHTEN THE SCREW AS IT MAY CAUSE DAMAGE ON SEAT. 3 – Segurar la tuerca abajo del inodoro, usar desatornillador para prietar las tuercas. (Ver Ilustración) PRECAUTIÓN NO APRIETE LAS TUERCAS MÁS DE LA CUENTA. ESTO PUEDE CAUSAR DANO EN LA TAPA 4 - Push the decorative cap down. 4 – Cerrar la capa decorativa. CARE AND CLEANING CUIDADO Y LIMPIEZA Cleaners that don’t contain chlorine can be used on the china surface. Cleaners containing chlorine (calcium hypochlorite) are not recommended. It may cause damage to the tank flushing components. En la superficie de porcelana se pueden usar limpiadores que no contengan cloro. No se recomienda el uso de limpiadores que contengan cloro (hipoclorito de sodio). Esto puede dañar los componentes que se activan al mover la palanca del tanque. 8 TROUBLESHOOTING SOLUCIÓN DE PROBLEMAS 1. Poor Flush – This might occur due to low water level inside tank. You may troubleshoot this problem by increasing the water level (see Figure 5 for details). 1. El inodoro no traga bien – Esto puede ocurrir porque el nivel del agua dentro del tanque está muy bajo. Este problema lo puede resolver subiendo el nivel del agua. 2. No Flush or (Flush Volume is too little) – This might occur if the push rod is too short, or if half flush float is over height, please readjust. 2. No descarga o (el volumen de la descarga es muy bajo) Esto puede ocurrir si la varilla de levante es demasiado corta, o si el flotador de descarga media supera la altura, vuelva a ajustarlos. 3. Full Flush Water Lever/Half Flush Water Lever are too high or too low – Half flush float, half flush adjusting piece and full flush adjusting piece don’t adjust well, please readjust. 3. Palanca de agua de descarga completa/Palanca de agua de descarga media demasiado altas o demasiado bajas Flotador de descarga media, la pieza de ajuste de descarga media y la pieza de ajuste de descarga completa no se ajustan bien, vuelva a ajustarlas. PART REPAIR LIST LISTA DE PIEZAS PARA ARREGLOS Fill Valve – Model A1250 from R&T Válvula de llenado – Modelo A1250 de R&T Flush Valve – Model A2417 from R&T. Válvula de la descarga (“flush”) – Modelo A2417 de R&T. LIMITED LIFETIME WARRANTY GARANTÍA VITALICIA LIMITADA HOME DEPOT warrants this product to be free from defects in materials and workmanship for as long as the original customer purchaser owns their home. HOME DEPOT garantiza que este producto está libre de defectos en materiales y mano de obra durante todo el tiempo en que el consumidor original sea propietario de la casa. 9 HOME DEPOT will provide free of charge, at its option, replacement parts or product for comparable product (if no long available) to replace those which have proven defective in materials or workmanship. HOME DEPOT proporcionará sin costo alguno, si así lo decide, reemplazar las piezas o el producto con productos comparables (si ya no está disponible el original) para reemplazar los que se ha probado que tienen defecto en materiales o mano de obra. Proof of purchase (original sales receipt) from the original Consumer Purchaser must be made available to HOME DEPOT for all warranty claims. This warranty is nontransferable. It does not apply in the event of installation error, abuse, misuse or improper care and maintenance (whether by a contractor, Service Company or member of the purchaser’s household). Todas las reclamaciones bajo garantía tienen que presentársele HOME DEPOT acompañadas del comprobante de compra (el recibo original) del Consumidor que lo compró. Esta garantía no es transferible. No corresponde en el caso de un error en la instalación, abuso, uso indebido o cuidado y mantenimiento inadecuados (ya haya sido de parte del contratista, Compañía de Servicio o alguna persona del hogar del comprador). This warranty excludes all industrial, commercial and business usage. Esta garantía excluye todos los usos industriales, mercantiles y comerciales. This warranty does not cover labor charges incurred and/or damage sustained in installation, repair or replacement, not incidental or consequential damages. Esta garantía no cubre los cargos incurridos por mano de obra o daños sufridos durante la instalación, reparación o reemplazo, ni daños incidentales o consecuentes. To obtain warranty service or product information call Para obtener servicio bajo la garantía o información sobre el producto, llame al CUSTOMER SERVICE CENTER (Centro de servicios para el cliente) 1-800-831-8383 This warranty gives the original purchaser of this product specific legal rights which may vary from State to State or from Province to Province. Esta garantía le proporciona al comprador original de este producto derechos legales específicos que pueden variar de uno a otro estado o de provincia a provincia. In some States or Provinces, the exclusion or limitation of incidental or consequential damage is not allowed, so those exclusions may not apply to you. En algunos estados o provincias, no se permite la exclusión o limitación por daños incidentales o consecuentes, de modo que es posible que dichas exclusiones no le correspondan. 10
