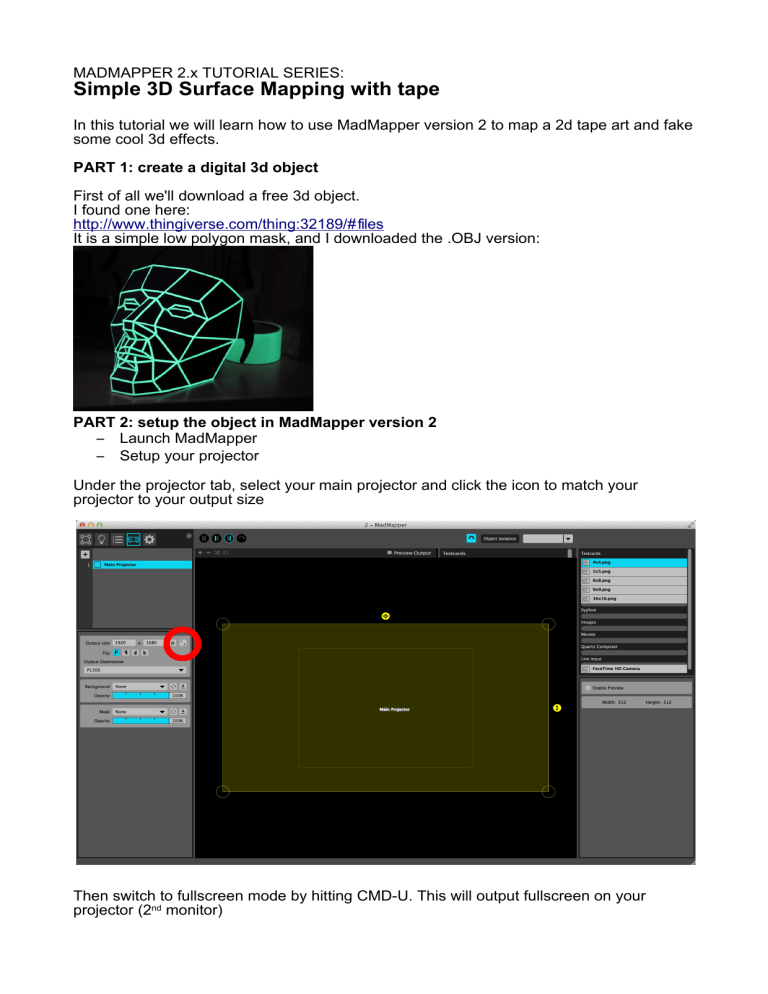
MADMAPPER 2.x TUTORIAL SERIES: Simple 3D Surface Mapping with tape In this tutorial we will learn how to use MadMapper version 2 to map a 2d tape art and fake some cool 3d effects. PART 1: create a digital 3d object First of all we'll download a free 3d object. I found one here: http://www.thingiverse.com/thing:32189/# files It is a simple low polygon mask, and I downloaded the .OBJ version: PART 2: setup the object in MadMapper version 2 – Launch MadMapper – Setup your projector Under the projector tab, select your main projector and click the icon to match your projector to your output size Then switch to fullscreen mode by hitting CMD-U. This will output fullscreen on your projector (2nd monitor) Now switch to the Surface Tab, and drag and drop your .obj file into the output preview. You can also hit CMD-3 to import the 3d object. This will automatically create a 3d surface into MadMapper. Rotate and scale the object so that it take as much space as possible on the output. Now in the surface inspector, scroll down and click “Create lines from visible edges”. This will create a new line layer, that we will use to place the tape on our wall. Once created , hide the 3d surface in the layer stack, select the Line surface just created, and adjust the Thickness of the lines so that it roughly matches the thickness of your tape. You should see something like this on your wall: Using the projected lines as a guide, start taping over the projection: Here's the finished tape art with the projected lines: And the tape drawing without projection: As you can see, I did it very quickly, but that's ok for the sake of this tutorial. PART 3: add some cool 3d lighting effects Now we'll use the power of MadMapper 3d features to add some virtual lighting and shadowing onto our tape art. Hide the lines layer, and show the original 3d surface: In the surface inspector, disable Wireframe rendering, and enable the Lighting: Now we'll add some shadow, by: – enabling the spot light – setting the shadow quality to 7 (which equals to a shadow map size of 2048*2048 pixels) You can play with the distance/longitude/latitude parameters to orbit the light around your 3d object Et voila ! This tutorial is finished. You should have a cool tape art with some virtual lighting on your wall. BONUS: sync the light to the music To add some dynamic, we'll link the light movement to the music. This is simply done by right-clicking the Longitude and adding an audio input control: This will invoke the Control List editor. Select the Amplitude as a channel, and then modify the target range so that the light will move from 0 to 180 degrees around your object (this will prevent the light from going behing the object) You can also add an Attack Filter, to smooth out the movement in a musical way. BONUS 2: add even more dynamics … by re-enabling the lines over the 3d surface, and adding some animation to the lines The final projection should look axproximately like that: I hope you enjoyed this tutorial. If you feel con fident, it's about time to go on to the 3d advanced tutorial.
