Ficha Técnica
Anuncio
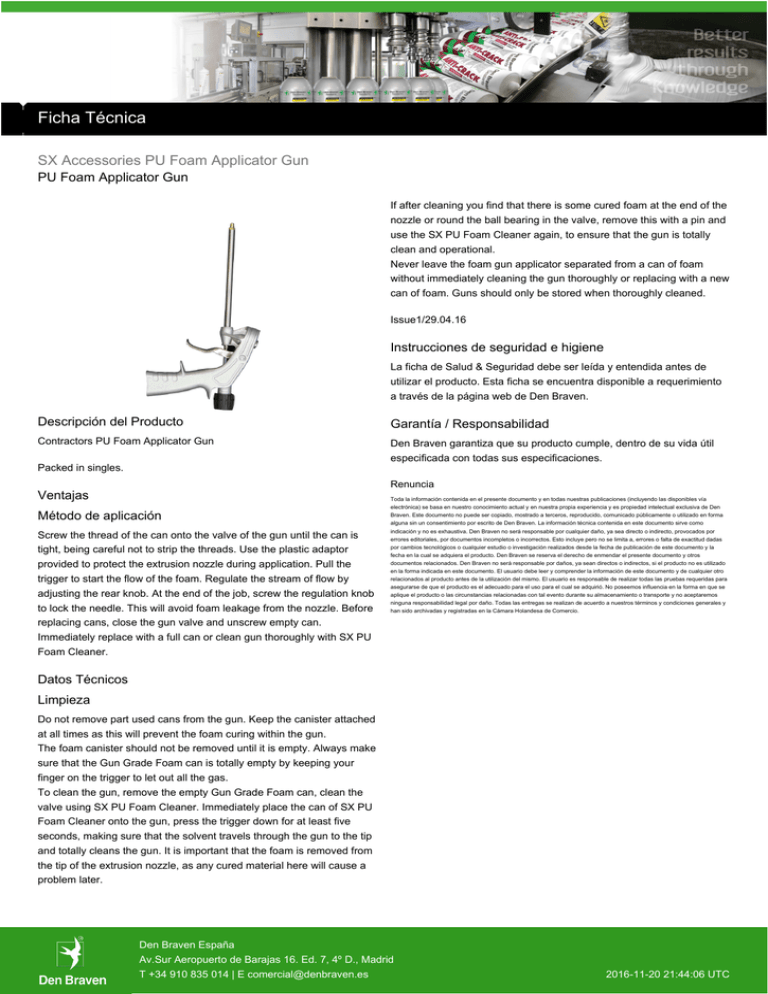
Ficha Técnica SX Accessories PU Foam Applicator Gun PU Foam Applicator Gun If after cleaning you find that there is some cured foam at the end of the nozzle or round the ball bearing in the valve, remove this with a pin and use the SX PU Foam Cleaner again, to ensure that the gun is totally clean and operational. Never leave the foam gun applicator separated from a can of foam without immediately cleaning the gun thoroughly or replacing with a new can of foam. Guns should only be stored when thoroughly cleaned. Issue1/29.04.16 Instrucciones de seguridad e higiene La ficha de Salud & Seguridad debe ser leída y entendida antes de utilizar el producto. Esta ficha se encuentra disponible a requerimiento a través de la página web de Den Braven. Descripción del Producto Garantía / Responsabilidad Contractors PU Foam Applicator Gun Den Braven garantiza que su producto cumple, dentro de su vida útil especificada con todas sus especificaciones. Packed in singles. Renuncia Ventajas Método de aplicación Screw the thread of the can onto the valve of the gun until the can is tight, being careful not to strip the threads. Use the plastic adaptor provided to protect the extrusion nozzle during application. Pull the trigger to start the flow of the foam. Regulate the stream of flow by adjusting the rear knob. At the end of the job, screw the regulation knob to lock the needle. This will avoid foam leakage from the nozzle. Before replacing cans, close the gun valve and unscrew empty can. Immediately replace with a full can or clean gun thoroughly with SX PU Foam Cleaner. Toda la información contenida en el presente documento y en todas nuestras publicaciones (incluyendo las disponibles vía electrónica) se basa en nuestro conocimiento actual y en nuestra propia experiencia y es propiedad intelectual exclusiva de Den Braven. Este documento no puede ser copiado, mostrado a terceros, reproducido, comunicado públicamente o utilizado en forma alguna sin un consentimiento por escrito de Den Braven. La información técnica contenida en este documento sirve como indicación y no es exhaustiva. Den Braven no será responsable por cualquier daño, ya sea directo o indirecto, provocados por errores editoriales, por documentos incompletos o incorrectos. Esto incluye pero no se limita a, errores o falta de exactitud dadas por cambios tecnológicos o cualquier estudio o investigación realizados desde la fecha de publicación de este documento y la fecha en la cual se adquiera el producto. Den Braven se reserva el derecho de enmendar el presente documento y otros documentos relacionados. Den Braven no será responsable por daños, ya sean directos o indirectos, si el producto no es utilizado en la forma indicada en este documento. El usuario debe leer y comprender la información de este documento y de cualquier otro relacionados al producto antes de la utilización del mismo. El usuario es responsable de realizar todas las pruebas requeridas para asegurarse de que el producto es el adecuado para el uso para el cual se adquirió. No poseemos influencia en la forma en que se aplique el producto o las circunstancias relacionadas con tal evento durante su almacenamiento o transporte y no aceptaremos ninguna responsabilidad legal por daño. Todas las entregas se realizan de acuerdo a nuestros términos y condiciones generales y han sido archivadas y registradas en la Cámara Holandesa de Comercio. Datos Técnicos Limpieza Do not remove part used cans from the gun. Keep the canister attached at all times as this will prevent the foam curing within the gun. The foam canister should not be removed until it is empty. Always make sure that the Gun Grade Foam can is totally empty by keeping your finger on the trigger to let out all the gas. To clean the gun, remove the empty Gun Grade Foam can, clean the valve using SX PU Foam Cleaner. Immediately place the can of SX PU Foam Cleaner onto the gun, press the trigger down for at least five seconds, making sure that the solvent travels through the gun to the tip and totally cleans the gun. It is important that the foam is removed from the tip of the extrusion nozzle, as any cured material here will cause a problem later. Den Braven España Av.Sur Aeropuerto de Barajas 16. Ed. 7, 4º D., Madrid T +34 910 835 014 | E comercial@denbraven.es 2016-11-20 21:44:06 UTC
