Instrucciones de Montaje / Assembly Instructions
Anuncio
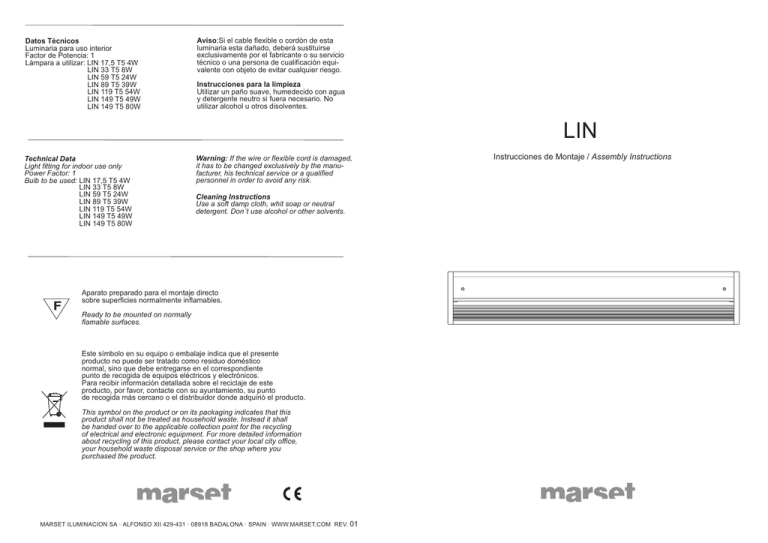
Datos Técnicos Luminaria para uso interior Factor de Potencia: 1 Lámpara a utilizar: LIN 17,5 T5 4W LIN 33 T5 8W LIN 59 T5 24W LIN 89 T5 39W LIN 119 T5 54W LIN 149 T5 49W LIN 149 T5 80W Aviso:Si el cable flexible o cordón de esta luminaria esta dañado, deberá sustituirse exclusivamente por el fabricante o su servicio técnico o una persona de cualificación equivalente con objeto de evitar cualquier riesgo. Instrucciones para la limpieza Utilizar un paño suave, humedecido con agua y detergente neutro si fuera necesario. No utilizar alcohol u otros disolventes. LIN Technical Data Light fitting for indoor use only Power Factor: 1 Bulb to be used: LIN 17,5 T5 4W LIN 33 T5 8W LIN 59 T5 24W LIN 89 T5 39W LIN 119 T5 54W LIN 149 T5 49W LIN 149 T5 80W F Warning: If the wire or flexible cord is damaged, it has to be changed exclusively by the manufacturer, his technical service or a qualified personnel in order to avoid any risk. Cleaning Instructions Use a soft damp cloth, whit soap or neutral detergent. Don´t use alcohol or other solvents. Aparato preparado para el montaje directo sobre superficies normalmente inflamables. Ready to be mounted on normally flamable surfaces. Este símbolo en su equipo o embalaje indica que el presente producto no puede ser tratado como residuo doméstico normal, sino que debe entregarse en el correspondiente punto de recogida de equipos eléctricos y electrónicos. Para recibir información detallada sobre el reciclaje de este producto, por favor, contacte con su ayuntamiento, su punto de recogida más cercano o el distribuidor donde adquirió el producto. This symbol on the product or on its packaging indicates that this product shall not be treated as household waste. Instead it shall be handed over to the applicable collection point for the recycling of electrical and electronic equipment. For more detailed information about recycling of this product, please contact your local city office, your household waste disposal service or the shop where you purchased the product. MARSET ILUMINACION SA · ALFONSO XII 429-431 · 08918 BADALONA · SPAIN · WWW.MARSET.COM REV. 01 Instrucciones de Montaje / Assembly Instructions c d SUPERFICIE/ FLAT SURFACE 2. 1A. Atención! Desconectar la conexión a red antes de ser manipulada y realizar el cambio de bombilla sólo cuando esta se haya enfriado. a b e Warning! Disconnect power supply before installation and change the bulb only when it´s cold. SUPERFICIE c 1A. Pasar el cable de red (c) por el orificio de la luminaria. Fijar el soporte (a) mediante los tornillos, arandelas y tacos que se suministran (b), 2. Conectar el cable de red (c) a la regleta (d). Colocar el fluorescente (e). 3. Situar la pantalla de policarbonato (f) comenzando por la parte superior y con una ligera presión situar la pantalla en la ranura. 4. Finalmente, colocar la tapa delantera (g) con un ajuste vertical. Mantener una presión hacia abajo y colocar los tornillos suministrados (h). g 3. EMPOTRADO (solo paredes de madera/pladur) 4. 1B. Atornillar los flejes(i) mediante los tornillos suministrados (j) en los orificios correspondientes. Realizar un agujero en la pared segun el modelo (tabla A). Pasar el cable de red por el orificio de la luminaria. Fijar la luminaria en el hueco de empalme. 2, 3, 4. Seguir los mismos pasos que para el LIN DE SUPERFICIE. FLAT SURFACE 1A. Pass the power supply wires (c) through the hole in the light. Position the support (a) using the plugs and screws provided (b). 2. Connect the power supply wires to the terminal strip (d). Insert the fluorescent bulb (e). 3. Install the polycarbonate shade (f), in the groove starting at the top. 4. Finally, insert the front cover (g) aligning it vertically. Exerting a downward pressure, insert the screws provided (h). h f BUILT-IN (Wood and plasterboard party walls only) Medidas del hueco / Hole dimensions EMPOTRADO PARED (madera/pladur) / BUILT-IN 1B. j x i y A LIN X (mm) Y (mm) 4W 165 95 8W 315 95 24W 575 95 39W 875 95 54W 1175 95 48/80W 1475 95 1B. Screw the metal spring clips into their respective holes, using the screws provided (j). Make a hole in the wall, depending on the size of the light (see Table A). Pass the power supply wires through the hole in the light. Press the light into the cavity. 2, 3, 4. Proceed as indicated for the LIN FLAT SURFACE model.
