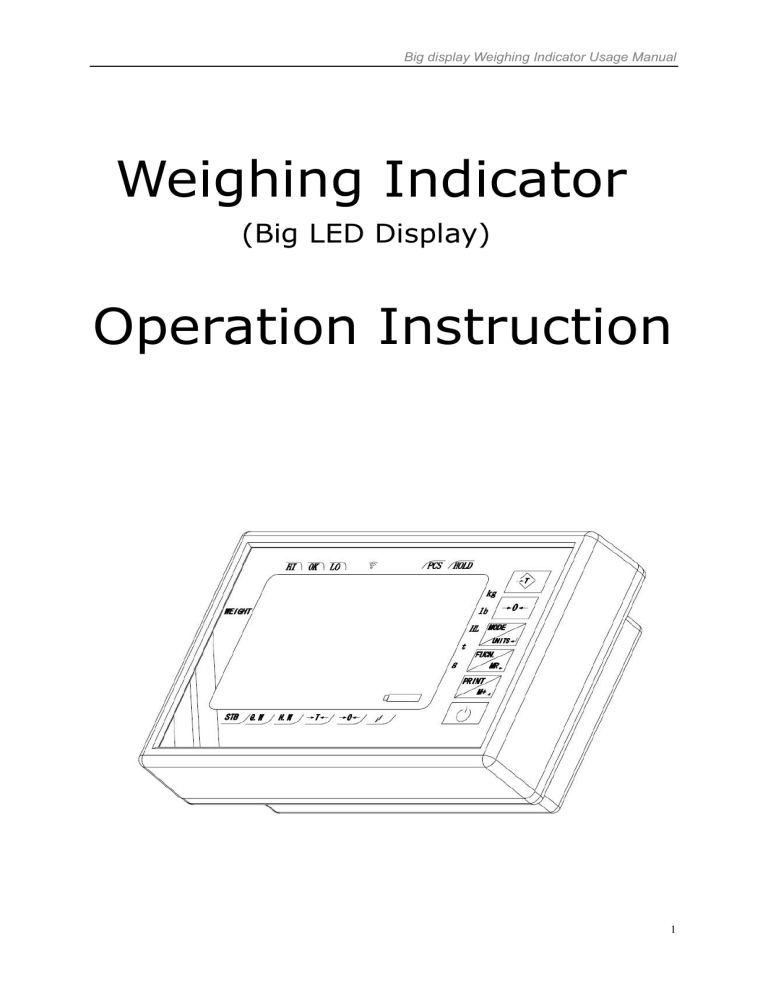
Big display Weighing Indicator Usage Manual Weighing Indicator (Big LED Display) Operation Instruction 1 Big display Weighing Indicator Usage Manual Content I. BEFORE USING THE SCALE………………………….1 II. PREPARING TO USE THE SCALE………….………….1 III. INTRODUCTION …………………………………………1 IV. LED DISPLAY SYMBOLS………………………………2 V. KEYBOARD FUNCTION…………………………………3 VI. GENERAL FUNCTION …………………………….. 3 VII. COUNTING FUNCTION OPERATION……………..5 VIII. CONNECTION OF INTERFACE…………………6 IX. MEANS OF POWER SUPPLY & CHARGING………..6 XII. ERROR SIGNAL ………………………………………..11 XIII. Warranty…………………………………………….11 2 Big display Weighing Indicator Usage Manual I. BEFORE USING THE SCALE To enable you to use this scale correctly, we suggest you read this manual carefully. 1. Do not use scale in areas with excessive water and don’t spray the scale or indicator with water when cleaning. Erase all water from the scale and indicator with a clean dry duster cloth. 2. Load placed on platter must not exceed the maximum weighing capacity of the scale. 3. Keep the scale away from high temperature and damp conditions. 4. If the scale is not going to be used for some time, please clean and store it in a plastic bag under dry condition. A desiccant sachet is suggested to be included to prevent moisture build up. In addition, the internal rechargeable battery should be recharged very three months. 5. Before using the scale after a long period of storage, please ensure that the internal battery is fully charged. Note : Care should be taken not to leave the internal battery on charge for too long, as this may decrease life of battery. II. PREPARING TO USE THE SCALE 1. 2. 3. 4. 5. Put the scale on a firm level surface from vibrations for accurate weight readings. Adjust the four leveling feet to set the level of scale platform. Avoid operating the scale in direct sunlight or drafts of any kind. Take away any weight that might be on the platform before the scale is switched on. Once the scale has been switched on, it will go through a LED display test and then re-zero to be ready for use. 6. Please note when Battery capacity indication light shows red on the screen, the internal battery needs to be charged. 7. All goods weighed should be placed in the center of platform for accurate weighing. The footprint of the goods being weighed should not overstep the edges of platform. III. INTRODUCTION 3.1 FEATURES 1. 2. 3. ABS plastic house case with plastic bracket. Multiple weighing units: kg / lb / t / g / PCS User-friendly function: Auto calibration 6 digits Big LED display(72mm height), Red & Green LED selectable. Date & time display. Wireless weighing (Option part). Simple counting function. Check weighing function with HI / OK / LO colorful LED and alert buzz. Print function. Auto power-off design to ensure the performance stability 4. High performance in A/D converter Conversion speed: up to 80 times / second Internal resolution: 400,000 External resolution: 1/1000 ~ 1/30000 Non-linearity: < 0.016% of full scale 3 Big display Weighing Indicator Usage Manual Input range of load cell: 1.0 ~ 20 mv/v Load cell excitation: + DC5V Load cell drive capacity: up to 8units 1000Ω load cell 5. Option parts Wireless communication weighing module RS-232 or RS-485 interface, Bluetooth interface. 0~20mA output 6. Humidity: ≤ 85% 7. External dimension: 258x154x90mm 8. Gross weight: 2kg 9. Packing: Single package / 4pcs in one carton 3.2 POWER SUPPLY 1. 2. 3. Rechargeable battery: DC 6V / 4Ah Adapter : AC100~240V 50HZ / DC 12V 500mA Transformer: AC110 / 240V with earth wire. (Selectable) 3.3 BATTERY CAPACITY DISPLAY The scale will power off automatically without recharging after the Low battery LED shows. As a recommendation, the scale should be fully recharged and change green light before using the scale again. IV. LED DISPLAY SYMBOLS STB Stable indication G.W Gross weight N.W Net weight →T← Tare mode →0← Zero indication. Charging light PCS Counting function HOLD Animal weighing HI/OK/LO Check weighing indication Wireless working Kg,lb,t, g Weigh units Battery Capacity 4 Big display Weighing Indicator Usage Manual V. KEYBOARD FUNCTION Power switch key. The indicator will be turned on or off when pressing the key. Press and hold the key for 1.5 seconds, it will test-self until it is zero. Deduct the container weight. Press this key to deduct container weight and net weight indication will display. To re-zero the scale. Range of re-zero is ±2% of full scale. * Weigh units switching while in weighing mode. * Press to confirm the setting when it is in setting menu or calibration mode. * For recalling the memory of accumulative weight. Accumulative time and weight will display on the screen. Press [→0←] to clear accumulative weight and time. * Press and hold for 3 seconds, it will enter [GENERAL FUNCTION] menu. * Selective key when in setting menu. * Press the key to print out the current weight and the weight will be added up to accumulative weight. * Print out the memory while in accumulative mode(Press MR key first). * Selective key when in setting menu. 5 Big display Weighing Indicator Usage Manual VI. GENERAL FUNCTION * Plug the circuit breaker JP1 into ‘off’, and the following operation can be performed. Press and hold [ FUCN./MR] key for 3 seconds, the screen will display Fn0 . It enters the menu of general function setting. There are 8 kinds of function can be set. Press [PRINT/M+] & [MODE/UNITS] keys to select the code from “0~7”. Each code represents a function. Belows is the list of function. FUCN. code Functional Description Fn 0 SETTING OF AUTOMATIC POWER OFF SETTING OF BUZZER SETTING OF POWER SAVING MODE SETTING OF CHECK WEIGHING FUNCTION SETTING OF AUTO SHUTDOWN PROTECTION FOR BATTERY SETTING OF DATE AND TIME SPECIFIC FUNCTION Fn 1 Fn 2 Fn 3 Fn 4 Fn 5 Fn 6 6.1 SETTING OF AUTOMATIC POWER OFF Set “Fn = 0”, it is parameter of automatic power off function. It displays OFF 0 . There are 7 choices for preset shut down time: 10, 20, 30, 50, 60 and 0. Choices 10~60minutes denotes respectively that indicator will power off automatically if there is no changes on weighing value and no operation on keyboard. Choice 0 denote that automatic power function is not available. Press [PRINT/M+] to select then press [MODE/UNITS] to confirm and exit to weighing mode. 6.2 SETTING OF BUZZER Set “Fn = 1”, it is parameter of Buzzer function. It displays bP On or bP OFF . Press [PRINT/M+] to select “on” or “off” to turn on/off the buzzer. Non-buzzing mode will help decreasing power consumption. Press [MODE/UNITS] to confirm and exit to weighing mode. 6.3 SETTING OF POWER SAVING MODE Set “Fn = 2”, it is parameter of Power saving mode select. It displays bAn X . X means the different modes selectable while it is zero. X=0, means power saving mode is off. X=1, means saving mode 1. It will enter stand-by mode and only one LED is lighting after 10seconds. 6 Big display Weighing Indicator Usage Manual X=2, means saving mode 2. It will enter Time and date display mode after 10seconds. Press [PRINT/M+] to select then press [MODE/UNITS] to confirm and exit to weighing mode. 6.4 SETTING OF CHECK WEIGHING FUNCTION Set “Fn = 3”, it is parameter of Check weighing function. The indicator has a check weighing function which allows scale to check weigh, making the set point weight quick and accurate. Step 1: When XXXX kg & - HI - indication is shining, please to set the highest weight. If scale is over this weight, “ HI ” LED indication shows and alert buzzing. Press [FUCN./MR] & [PRINT/M+] key to set the point weight, then press [MODE/UNITS] to confirm and next to step 2. Step 2: When XXXX kg & LO indication is shining, please to set the lowest weight, if scale is under this weight, “ LO ” LED indication and alert buzzing. Press [FUCN./MR] & [PRINT/M+] key to set the point weight, then press [MODE/UNITS] to confirm and exit to weighing mode. For example: For one 150kg scale, desired weight is 100kg, deviation value is ±0.2kg. Step 1: Pressing[FUCN./MR] & [PRINT/M+] key to set highest weight 100.20kg, the screen will display 100.20 kg HI , then press [MODE/UNITS] to confirm and next to Step 2. Step 2: Pressing [FUCN./MR] & [PRINT/M+] key to set the lowest weight 100.10kg, the screen will display 100.20 kg LO , then press [MODE/UNITS] to confirm and exit to weighing mode. Step 3: After back to normal weighing, load the goods in scale, if over or under this two points weight, the “HI” or “LO” LED indication will be shinning with alert buzz to annunciate to user. But the weight is in the range of setting, the “OK” LED will shows without alert buzz. Remark: With this function, the indicator can connect to a overlay control system with 0~20mA output, such as Alert tower or PLC system. This is a option part with output that need to order. 6.5 SETTING OF AUTO SHUTDOWN PROTECTION FOR LOW BATTERY Set “Fn =4 ”, it is parameter of Auto shutdown protection function. It will display PLO XX . “XX” means Percentage of battery capacity. When the capacity of battery is lower than the setting value, the indicator will be shutdown and need to be charged. It is very helpfully to increase the life of battery. Default is “20%”. 7 Big display Weighing Indicator Usage Manual Press [PRINT/M+] to select from “0~30” and press [MODE/UNITS] to confirm and exit to weighing mode. 6.6 SETTING OF DATE AND TIME Set “Fn =5 ”, it is parameter of Date & time setting. It displays the last preset date & time. Press [FUCN./MR] & [PRINT/M+] key to input the date, then press [MODE/UNITS] to confirm and next to set Time. Same operation as above. Then exit to weighing mode. 6.7 SETTING OF BRIGHTNESS OF LED DISPLAY Set “Fn =6 ”, it is parameter of brightness of LED display. It displays LEd - 5 . It can be adjusted the brightness of LED display for saving power. There are 0~8 degrees of Brightness, increases by number. “5” is default value. Press [PRINT/M+] key to select the value. Press [MODE/UNITS] to confirm value and exit to weighing mode. 6.8 SPECIFIC FUNCTION Set “Fn =7 ”, it is without any setting before customer demands. VII. COUNTING FUNCTION OPERATION Attention: In counting mode, the indicator isn’t allowed for weight unit switching function. The function must be set in “CONFIGURATION SETTINGS” (refer to Step 4). This mode is used to indicate the number of pieces of an item that placed on the pan. To ensure accuracy, the parts that counted must be consistent in weight. The scale uses a sampling method to determine the average pieces weight of the items that counted. For example, 30kg scale, sample weight is 200g, it is 100pcs sample units. 7.1 How to enter in Counting weighing mode. Press [MODE/UNITS] to switch between standard weighing mode and counting mode. 8 Big display Weighing Indicator Usage Manual 7.2 How to operation Step 1: Place the sample items on the pan/container all at once. Step 2: When the weight display stable with STB indication. Step3: Press [MODE/UNITS] enter to Counting Mode. The screen displays n XXXXX . “XXXXX” means the number of items that placed in the pan. Press [→0←] for 3 seconds until the display shining. Step 4: Press [FUCN./MR] & [PRINT/M+] to input the sample number, then press[ MODE/UNITS] to confirm. Step 5: Upload the sample unit and place the item in the pan that need to be counted. The screen displays the total pieces of items. If need to set new sample, do same operation as above again. For example: said 30kg scale, sample weight is 200g, it is 100pcs sample units. Step 1: Place the 200g sample unit in the pan. Step 2: Press [MODE/UNITS] enter to Counting Mode, then press and hold [→0←] for 3 seconds until it displays n XXXXX . Step 3: Press [FUCN./MR] & [PRINT/M+] to input the sample number, and it displays n 00100 . Step 4: Press [MODE/UNITS] to confirm and upload the sample unit. Step 5: Loading the weight, said to “400g”, the screen will be display 200pcs . Step 6: Press [MODE/UNITS] to switch to between normal weighing mode and counting mode. VIII. CONNECTION OF INTERFACE 8.1 CONNECTION OF LOAD CELL SIGNAL WIRE (For 4 cores load cell only.) For better performance of the electronic scale, make sure to connect the 5 round pin plug to the 5 pin socket firmly and tighten the screw up. Please see figure 1: 1: Pin +IN +signal 2: Pin -IN -signal 3: Pin AGND shield 4: Pin +E, +S +excitation, +feed back 5: Pin -E, +S -excitation, -feed back Figure 1: Diagram of 5 round pin plug of the load cell 9 Big display Weighing Indicator Usage Manual 8.2 CONNECTION OF LOAD CELL SIGNAL WIRE (For 6 cores load cell only.) While order with D-SUB-9 needle slot as figure 2 shows: 1 Pin : +Excitation 2 Pin : + Feed back 3 Pin : AGND 7 Pin : +Signal 4 Pin: - Excitation 5 Pin : - Feed back 8 Pin : - Signal Figure 2: Diagram of D-SUB-9 needle slot 8.3. CONNECTION OF RS-232 (Please specify in the order if needed) RS-232 serial interface is a D-SUB-9 needle slot as figure 3 shows: 2: Pin RXD 3: Pin TXD 1 5: Pin GND 9: Pin TXD 2 Figure 3: Diagram of RS-232 slot XII. ERROR SIGNAL There will shows error signal when the scale have some problem. Error 1: means calibration isn’t workable, weight is too light or division is too high. Error 2: means wrong zero, check the load cell if it is damaged. Error 3: means displayed value exceed display range after unit change. --- H---: means overload, loaded weight exceed the full range. XIII. WARRANTY We guarantee one-year of free maintenance since the date of purchase for any non-manmade faults in normal working conditions. For maintenance, please send the equipment with the guarantee card to our sales service. Attention: we are always improving the machine, there is not pre-notice if there are something different comparing with the precious ones. 10
