technical-note-how-to-calculate-pressure-transmitter-calibration-intervals-en-7432098
Anuncio
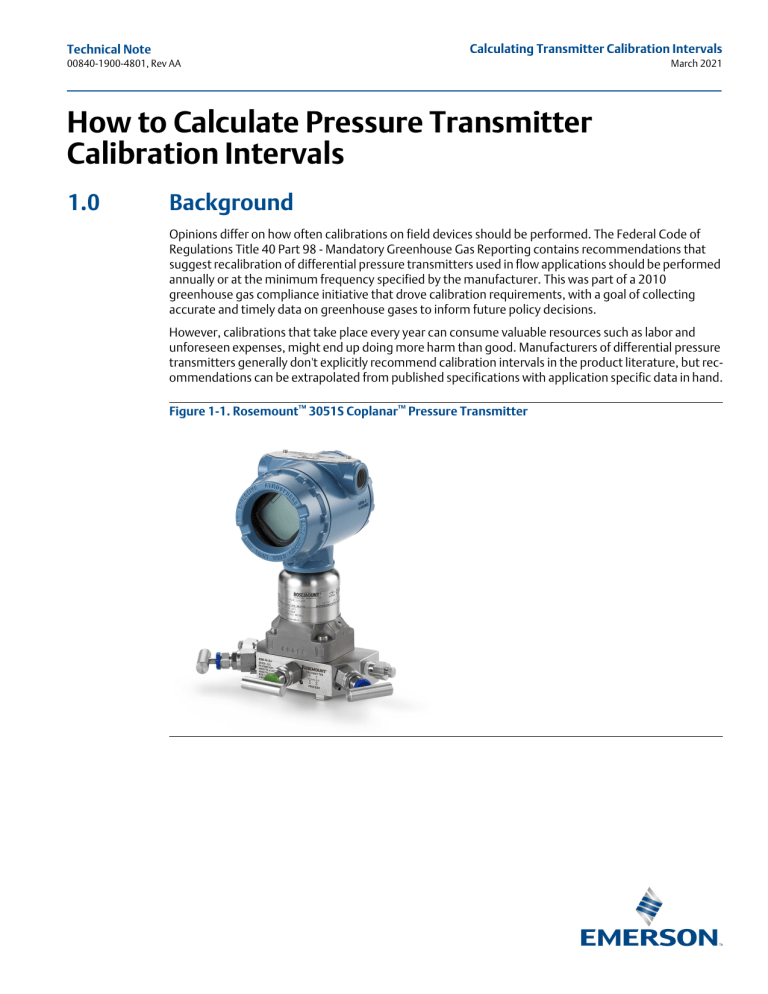
Calculating Transmitter Calibration Intervals Technical Note 00840-1900-4801, Rev AA March 2021 How to Calculate Pressure Transmitter Calibration Intervals 1.0 Background Opinions differ on how often calibrations on field devices should be performed. The Federal Code of Regulations Title 40 Part 98 - Mandatory Greenhouse Gas Reporting contains recommendations that suggest recalibration of differential pressure transmitters used in flow applications should be performed annually or at the minimum frequency specified by the manufacturer. This was part of a 2010 greenhouse gas compliance initiative that drove calibration requirements, with a goal of collecting accurate and timely data on greenhouse gases to inform future policy decisions. However, calibrations that take place every year can consume valuable resources such as labor and unforeseen expenses, might end up doing more harm than good. Manufacturers of differential pressure transmitters generally don't explicitly recommend calibration intervals in the product literature, but recommendations can be extrapolated from published specifications with application specific data in hand. Figure 1-1. Rosemount™ 3051S Coplanar™ Pressure Transmitter Technical Note Calculating Transmitter Calibration Intervals 00840-1900-4801, Rev AA March 2021 2.0 Extracting calibration intervals from published specifications The translation of published specifications to a suggested calibration interval is a five-step process categorized as follows: Determine the performance required for the application Define the operating conditions Calculate the total probable error Identify the stability specifications for the output Calculate the calibration frequency After the description of each step an example is given to clarify and demonstrate the translation of the information. 2.1 The starting point First, make sure to identify the required performance for the measurement point. Typically, pressure transmitters are required to deliver anywhere from 0.5 to 2.0 percent of calibrated span performance. It should be noted that the required performance is installed performance and not reference accuracy. Installed performance considers the impact of ambient temperature changes as well as elevated static pressure on a differential pressure transmitter. For reference, our customers have shared their desired installed performance as a function of service class as shown below: Safety and Plant Efficiency Control 0.5% Regulatory Control 1.0% Supervisory Control 1.5% Monitoring and Optimization 2.0% Performance expectations, along with selected service performance class, can be revisited after completing the calibration frequency calculation and the total installed performance of the device is better understood. Next, define the operating conditions the device will be exposed to. Ambient temperature variations are important to consider along with static pressure at the measurement point for differential pressure transmitters. A transmitter installed indoors with very little temperature change can be expected to perform better than a device installed outdoors in Minneapolis, MN, where ambient temperatures can range from -30 °F to just over 100 °F in a season. Similarly, a differential pressure cell can be expected to be more accurate when reading 100 inches of water relative to atmospheric pressure, versus that same differential pressure reading at over 3,000 psi of static pressure. 2.2 The different device specifications and the difference those make The next step in translating published specifications into a calibration interval is calculating the Total Probable Error (TPE) of the device. As inputs to this step, the published specifications are required to populate the equation. For a differential pressure transmitter, the calculation uses a root sum of squares approach to combine the uncertainties associated with reference accuracy, ambient temperature effects, and static pressure effects. For a static pressure device measuring absolute or gage pressure, the pressure effect is zero. 2 Calculating Transmitter Calibration Intervals Technical Note Calculating Transmitter Calibration Intervals 00840-1900-4801, Rev AA March 2021 Figure 1-2. Total Probable Error Equation Total Probable Error = (x ) +(x )+(x ) 2 r Reference Accuracy Accuracy at Calibrated Range 2 2 t Ambient Temperature Effect p Line Pressure Effect Installation Effects on Accuracy The final input to the calibration frequency calculation is the stability specification. This is typically an uncertainty expressed as a percentage of the upper range limit of the device over a period of several years. Stability specifications can vary widely across device performance classes, so device selection needs to be carefully weighed against performance required for the application and desired calibration interval. Finally, the calibration interval is calculated by taking the difference between the required performance specified in Step 1 and the total probable error and dividing that difference by the stability specification. Units of measure must be consistent across the equation therefore the calculation should be done in terms of common engineering units for pressure measurement uncertainties and stability specification with the time unit of measurement carrying over to become the calibration interval. 3.0 A sample calculation A sample calculation using the five-step approach outlined above looks like this: 1. The application requires a ±0.5 percent of calibrated span performance. 2. The device will be exposed to 1400 psig static pressure with an expected ambient temperature variation of ±50 °F. The device will be reading at 250-in. of water differential pressure under normal operating conditions. 3. Since we need device specifications to calculate total probable error, let's start with a Rosemount 3051S Ultra performance class differential pressure transmitter. A range 3 differential pressure sensor with a 1000 inches of water upper range limit will give flexibility to handle variations in measured differential pressure. Reference accuracy = ±0.025% of span Ambient temperature effect = (0.009 𝑥 1000) + .025 % span = ±0.061% of span 250 Static pressure effect = 0.1% of span per 1000 psi = ±0.140% of span Applying the root sum of squares equation shown above gives TPE = ±0.155% of span. Calculating Transmitter Calibration Intervals 3 Technical Note Calculating Transmitter Calibration Intervals 00840-1900-4801, Rev AA March 2021 4. The stability specification for the Rosemount 3051S Ultra performance class is ±0.15% of upper range limit for 15 years. With a 250-in. of water calibration span, the specification can be translated to ±1.5 inches of water for 15 years, or ±0.00833 inches of water per month. 5. Converting the required performance and total probable error uncertainties to engineering units of measure gives ±1.25 inches of water and ±0.387 inches of water respectively. (1.25 − 0.387)𝑖𝑛𝐻2 𝑂 = 104 𝑚𝑜𝑛𝑡ℎ𝑠 0.00833𝑖𝑛𝐻2 𝑂/𝑚𝑜𝑛𝑡ℎ Using all the same details with only a change to the performance class of the device, we can see clearly how transmitter selection impacts the expected calibration interval. Table 1-1. Calibration Interval and Stability Specifications for Rosemount Pressure Transmitters Performance class Calibration interval (months) Stability Rosemount 3051S Ultra 104 15 years Rosemount 3051S Classic 71 15 years Rosemount 3051C 47 10 years Rosemount 2051C 20 5 years Devices that are installed in applications where the span is set at or near the upper range limit will drive calculation results that can exceed the published stability specification interval for a given performance class. In those cases, the calibration interval should be limited to the stability specification shown. 4.0 Conclusion Higher performance class transmitters can extend calibration intervals and deliver calibration maintenance cost savings that offset the initial purchase price increase. These estimated calibration intervals can also be compared with field calibration data and serve as justification for extending calibration intervals to more closely match the stability and performance of today's differential pressure measurement technology. Comparison with field calibration data can also identify applications where higher performing transmitters can reduce measurement uncertainties and extend calibration intervals to help minimize installed cost. Determining the correct calibration frequency is dependent on various factors as shown in this technical note. With the right input data and calculations, it is possible to plan for a frequency that meets the needs of your facility while also complying with the federal regulations. For more information on Emerson's family of Rosemount Pressure Transmitters, visit Emerson.com/Pressure-Transmitters-Transducers. 4 Calculating Transmitter Calibration Intervals Technical Note 00840-1900-4801, Rev AA Calculating Transmitter Calibration Intervals Calculating Transmitter Calibration Intervals March 2021 5 Technical Note 00840-1900-4801, Rev AA March 2021 Emerson Automation Solutions 6021 Innovation Blvd. Shakopee, MN 55379, USA +1 800 999 9307 or +1 952 906 8888 +1 952 949 7001 RFQ.RMD-RCC@Emerson.com North America Regional Office Emerson Automation Solutions 8200 Market Blvd. Chanhassen, MN 55317, USA +1 800 999 9307 or +1 952 906 8888 +1 952 949 7001 RMT-NA.RCCRFQ@Emerson.com Latin America Regional Office Emerson Automation Solutions 1300 Concord Terrace, Suite 400 Sunrise, FL 33323, USA +1 954 846 5030 +1 954 846 5121 RFQ.RMD-RCC@Emerson.com Europe Regional Office Emerson Automation Solutions Neuhofstrasse 19a P.O. Box 1046 CH 6340 Baar Switzerland +41 (0) 41 768 6111 +41 (0) 41 768 6300 RFQ.RMD-RCC@Emerson.com Asia Pacific Regional Office Emerson Automation Solutions 1 Pandan Crescent Singapore 128461 +65 6777 8211 +65 6777 0947 Enquiries@AP.Emerson.com Middle East and Africa Regional Office Emerson Automation Solutions Emerson FZE P.O. Box 17033 Jebel Ali Free Zone - South 2 Dubai, United Arab Emirates +971 4 8118100 +971 4 8865465 RFQ.RMTMEA@Emerson.com Linkedin.com/company/Emerson-Automation-Solutions Twitter.com/Rosemount_News Facebook.com/Rosemount Youtube.com/user/RosemountMeasurement Emerson Terms and Conditions of Sale are available upon request. The Emerson logo is a trademark and service mark of Emerson Electric Co. Rosemount is a mark of one of the Emerson family of companies. All other marks are the property of their respective owners. © 2021 Emerson. All rights reserved.
