VOLUREX 300cc VANNE D`ENTREE INLET VALVE
Anuncio
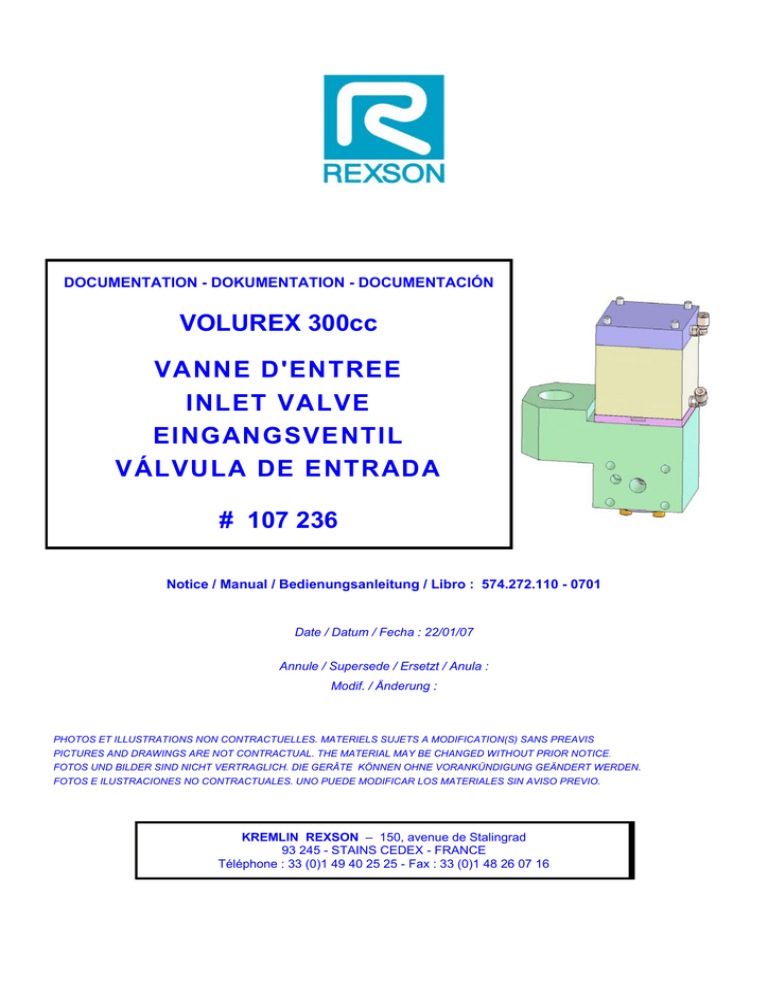
DOCUMENTATION - DOKUMENTATION - DOCUMENTACIÓN VOLUREX 300cc VANNE D'ENTREE INLET VALVE EINGANGSVENTIL VÁLVULA DE ENTRADA # 107 236 Notice / Manual / Bedienungsanleitung / Libro : 574.272.110 - 0701 Date / Datum / Fecha : 22/01/07 Annule / Supersede / Ersetzt / Anula : Modif. / Änderung : PHOTOS ET ILLUSTRATIONS NON CONTRACTUELLES. MATERIELS SUJETS A MODIFICATION(S) SANS PREAVIS PICTURES AND DRAWINGS ARE NOT CONTRACTUAL. THE MATERIAL MAY BE CHANGED WITHOUT PRIOR NOTICE. FOTOS UND BILDER SIND NICHT VERTRAGLICH. DIE GERÂTE KÖNNEN OHNE VORANKÜNDIGUNG GEÄNDERT WERDEN. FOTOS E ILUSTRACIONES NO CONTRACTUALES. UNO PUEDE MODIFICAR LOS MATERIALES SIN AVISO PREVIO. KREMLIN REXSON – 150, avenue de Stalingrad 93 245 - STAINS CEDEX - FRANCE Téléphone : 33 (0)1 49 40 25 25 - Fax : 33 (0)1 48 26 07 16 1. VUE ECLATEE - EXPLODED VIEW - SPRENGZEICHNUNG - DIBUJO 13 8 21 10 3 5 11 12 6 26 4 7 22 2 25 24 28 27 15 14 23 1 9 25 17 16 18 KREMLIN REXSON 1 Doc : 574.272.110 2. NOMENCLATURES - SPARE PARTS' LIST - TEILLISTE - NOMENCLATURAS VANNE D'ENTREE / INLET VALVE EINGANGSVENTIL / VÁLVULA DE ENTRADA VOLUREX 300 Désignation Description Bezeichnung # 107 236 Ind # Denominación Qté *1 211 701 Porte siège Seat support Sitzhalterung Soporte asiento 1 2 211 635 Bride porte-joint Flange, seal support Dichtungshalterungsflansch Brida soporte junta 1 3 207 018 Ressort Spring Feder Muelle 1 4 207 985 Rondelle Washer Scheibe Arandela 1 5 207 987 Ecrou de butée Stop nut Haltmutter Tuerca de tope 1 6 211 633 Piston Piston Kolben Pistón 1 7 211 632 Cylindre Cylinder Zylinder Cilindro 1 8 211 634 Couvercle Cover Deckel Tapa 1 9 211 636 Corps Body Korper Cuerpo 1 10 88 704 Vis CHc M 5x100 Screw, model CHc M 5x100 Schraube CHc M 5x100 Tornillo, tipo CHc M 5x100 4 11 84 278 Bague Bush Ring Anillo 1 12 552 260 Raccord coudé M5 - T 2,5x4 Elbow fitting, model M5 - hose 2,5x4 Winkelnippel, AG5 -Schlauch 2,5x4 Racor acodado, tipo M5 - T 2,5x4 2 13 552 231 Bouchon 1/8" Plug, model 1/8" Stopfen 1/8" Tapón, tipo 1/8 " 1 14 906.333.104 Bouchon 3/8" Plug, model 3/8" Stopfen 3/8" Tapón, tipo 3/8 " 1 * 15 207 984 Pointeau Needle Nadel Aguja 1 16 88 129 Vis CHc M 5x18 Screw, model CHc M 5x18 Schraube CHc M 5x18 Tornillo, tipo CHc M 5x18 4 17 88 461 Goupille 3x14 Pin Splint Pasador 1 18 211 711 Bouchon 1/4" Plug, model 1/4" Stopfen 1/4" Tapón, tipo 1/4 " 1 Screw, model CHc 6x120 Schraube CHc 6x120 Tornillo, tipo CHc 6x120 4 Package of seals Bolsa de juntas 1 19 933 151 779 Vis CHc 6x120 * 20 107 274 Pochette de joints Dichtungssatz Pochette de joints / Package of seals / Dichtungssatz / Bolsa de juntas Désignation Ind # 21 84 522 Joint (53,1x3) Seal Dichtung Junta 1 22 84 276 Joint NBR (7.65x1.78) NBR seal NBR O’Ring Junta NBR 1 23 80 012 Joint FPM (15,1x2,7) FPM seal FPM O’Ring Junta FPM 1 24 84 520 Joint Seal Dichtung Junta 1 25 80 011 Joint FPM (13,6x2,7) FPM seal FPM O’Ring Junta FPM 2 26 84 521 Joint (47,23x3,53) Seal Dichtung Junta 1 27 211 643 Rondelle Washer Scheibe Arandela 1 Retaining ring Sicherungsring Anillo de retención 1 28 902.202.114 Circlips Description * Pièces de maintenance préconisées tenues en stock * Preceding the index number denotes a suggested spare part. KREMLIN REXSON 2 Bezeichnung # 107 274 Denominación Qté * Bezeichnete Teile sind empfohlene Ersatzteile. * Piezas de mantenimiento preventivo a tener en stock. Doc : 574.272.110 3. DIMENSIONS - ABMESSUNGEN - DIMENSIONES 3/4 G A B D C F G E 4. A B C D E F G L (mm) 164 154 65 41 65 120 66 L(") 6.45 6.1 2.56 1.6 2.56 4.7 2.6 RACCORDEMENTS - FITTINGS - NIPPEL - RACORES Air / Luft / Aire Ouverture et fermeture vanne / Valve opening and closing /Öffnungsund Schließungsventil /Apertura y cierre válvula : Raccord instantané pour tuyau Ø 2,5x4 Quick release fitting for hose Ø 2,5x4 Sofortiger Nippel für Schlauch Ø 2,5x4 Racor instantáneo para tubería Ø 2,5x4 Produit / Fluid / Material / Producto Entrée produit / Inlet fluid / Eingangsmaterial / Entrada de producto : KREMLIN REXSON 3 F 3/4 BSP / 3/4" IG / H 3/4 BSP Doc : 574.272.110 5. MONTAGE - ASSEMBLY - MONTAGE - MONTAJE Démontage: Remontage Dévisser les 4 vis (19) pour désolidariser la vanne d'entrée du doseur Volurex Dévisser les 4 vis (16) pour démonter la partie produit de la vanne. Dévisser les 4 vis (10) pour démonter la partie air de la vanne et le pointeau (15). Pour extraire le joint (24) de la bride porte-joint (2) : - placer un petit tournevis dans l'épaulement usiné de la bride pour sortir le segment d'arrêt (28), extraire la rondelle (27) et le joint (24). Mettre de la graisse sur tous les joints et sur le piston (6). Placer les joints (25 et 23) sur le porte-siège (1). Fixer celui-ci avec les 4 vis (16). Mettre de la colle (type Loctite 577) sur le bouchon (14) et le visser dans le corps (9). Placer le joint (25) sur la bride porte-joint (2). Placer le joint (24), la rondelle (27) et le segment d'arrêt (28) dans la bride porte-joint (2). Introduire le pointeau (15) dans la bride porte-joint (2) du bas vers le haut. Placer le joint (22) dans le cylindre (7). Placer le cylindre (7) sur la bride porte-joint (2). Monter la rondelle (4), le joint (26), le piston (6), le joint (11). Mettre de la colle (type Loctite 222) sur le filetage du pointeau (15). Fixer le pointeau (15) dans les pièces (2 et 7) en vissant l'écrou de butée (5). Placer le ressort (3), le joint (21), le couvercle (8). Mettre de la graisse sur le pointeau (15). Monter l'ensemble dans le corps (9) et serrer avec les 4 vis (10). Mettre de la colle (type Loctite 222) sur le filetage des vis (19). Remonter la vanne d'entrée sur le doseur en vissant les 4 vis (19). Disassembly Assembly Unscrew the 4 screws (19) to separate the inlet valve from the Volurex proportioning system. Unscrew the 4 screws (16) to remove the material part of the valve. Unscrew the 4 screws (10) to remove the air part of the valve and the needle (11). To remove the seal (24) of the seal support flange (2). - locate a little screwdriver in the machined shoulder of the flange to take off the retaining ring (28), - take off the washer (27) and the seal (24). Lubricate the seals and the piston (6). Locate the seals (25 & 23) on the seat holder (1). Tighten it by means of the 4 screws (16). Applicate glue (Loctite 577) on the plug (14) and screw it on the body (9). Place the seal (25) on the seal support flange (2). Place the seal (24), the washer (27) and the retaining ring (28) on the seal support flange (2). Insert the needle (15) in the seal support flange (2) from downwards to upwards. Place the seal (22) in the cylinder (7). Place the cylinder (7) on the seal support flange (2). Install the washer (4), the seal (26), the piston (6), the seal (11). Applicate glue (Loctite 222) on the threading of the needle (15). Fix the needle (15) in the parts (2 & 7) screwing the stop nut (5). Place the spring (3), the seal (21), the cover (8). Lubricate the needle (15). Install the whole in the body (9) and tighten with the 4 screws (10). Applicate glue (Loctite 222) on the treading of the screws (19). Reinstall the inlet valve on the proportioning system screwing the 4 screws (19). KREMLIN REXSON 4 Doc : 574.272.110 Demontage: Montage Die 4 Schrauben (19) abschrauben, um das Eingangsventil von der Dosierungsmaschine „Volurex“ trennen. Die 4 Schrauben (16) abschrauben, um das Materialteil von dem Ventil zu trennen. Die 4 Schrauben (10) abschrauben, um das Luftteil des Ventils und die Nadel (15) abzumontieren. Um die Dichtung (24) aus dem Dichtungshalterungsflansch (2) herauszuziehen : - Einen kleinen Schraubenzieher in den bearbeiteten Schlitz der Flansch stellen, um den Sicherungsring (28) herauszuziehen, - Die Scheibe (27) und die Dichtung (24) herauszuziehen. Die Dichtungen und den Kolben (pos. 6) fetten. Die Dichtungen (25 und 23) auf die Sitzhalterung (1) stellen. Die Sitzhalterung mit 4 Schrauben (16) befestigen. Klebe (Typ Loctite 577) auf den Stopfen (14) stellen und ihn in den Körper (9) schrauben. Die Dichtung (25) auf die Dichtungshalterungsflansch (2) stellen. Dichtung (24), Scheibe (27) und Sicherungsring (28) in die Dichtungshalterungsflansch (2) einführen. Die Nadel (15) in die Dichtungshalterungsflansch (2) von unten nach oben einführen. Die Dichtung (22) in das Zylinder (7) einführen. Das Zylinder (7) auf die Dichtungshalterungsflansch (2) stellen. Die Scheibe (4), die Dichtung (26), den Kolben (6), die Dichtung (11) montieren. Klebe (Typ Loctite 222) auf das Gewinde der Nadel (15) stellen. Die Nadel (15) in die Teile (2 und 7) befestigen, dafür den Mutter bis Anschlag (5) schrauben. Die Feder (3), die Dichtung (21), den Deckel (8) montieren. Die Nadel (15) fetten. Die Einheit in den Körper (9) montieren und mit 4 Schrauben (10) festbefestigen. Klebe (Typ Loctite 222) auf das Gewinde der Schrauben (19) stellen. Das Eingangsventil auf die Dosierungsmaschine stellen. Dafür schrauben Sie die 4 Schrauben (19). Desmontaje Montaje Desenroscar los 4 tornillos (19) para separar la válvula de entrada del dosificador Volurex Desenroscar los 4 tornillos (16) para desmontar la parte producto de la válvula. Desenroscar los 4 tornillos (10) para desmontar la parte aire de la válvula y la aguja (15). Para extraer la junta de la brida porta junta (2) : posicionar un pequeño destornillador en el espaldón mecanizado de la brida para sacar el anillo de retención (28), - sacar la arandela (27) y la junta (24). Aplicar grasa en las juntas y el pistón (6). Posicionar las juntas (25 & 23) en el porta asiento (1). Fijarlo mediante los 4 tornillos (16). Aplicar cola (tipo Loctite 577) en el tapón (14) y roscarlo en el cuerpo (9). Posicionar la junta (25) en la brida porta junta (2). Posicionar la junta (24), la arandela (27) y el anillo de retención (28) en la brida porta junta (2). Introducir la aguja (15) en la brida porta junta (2) de abajo por arriba. Posicionar la junta (22) en el cilindro (7). Posicionar el cilindro (7) en la brida porta junta (2). Montar la arandela (4), la junta (26), el pistón (6), la junta (11). Aplicar cola (tipo Loctite 222) en el roscado de la aguja (15). Fijar la aguja (15) en las piezas (2 & 7) roscando la tuerca de tope (5). Posicionar el muelle (3), la junta (21), la tapa (8). Aplicar grasa en la aguja (15). Montar el conjunto en el cuerpo (9) y apretar con los 4 tornillos (10). Aplicar cola (tipo Loctite 222) en el roscado de los tornillos (19). Volver a montar la válvula de entrada en el dosificador roscando los 4 tornillos (19). KREMLIN REXSON 5 Doc : 574.272.110
