Taller de procesamiento digital de imágenes mediante Aforge.net
Anuncio
Taller de procesamiento digital de imágenes mediante Aforge.net
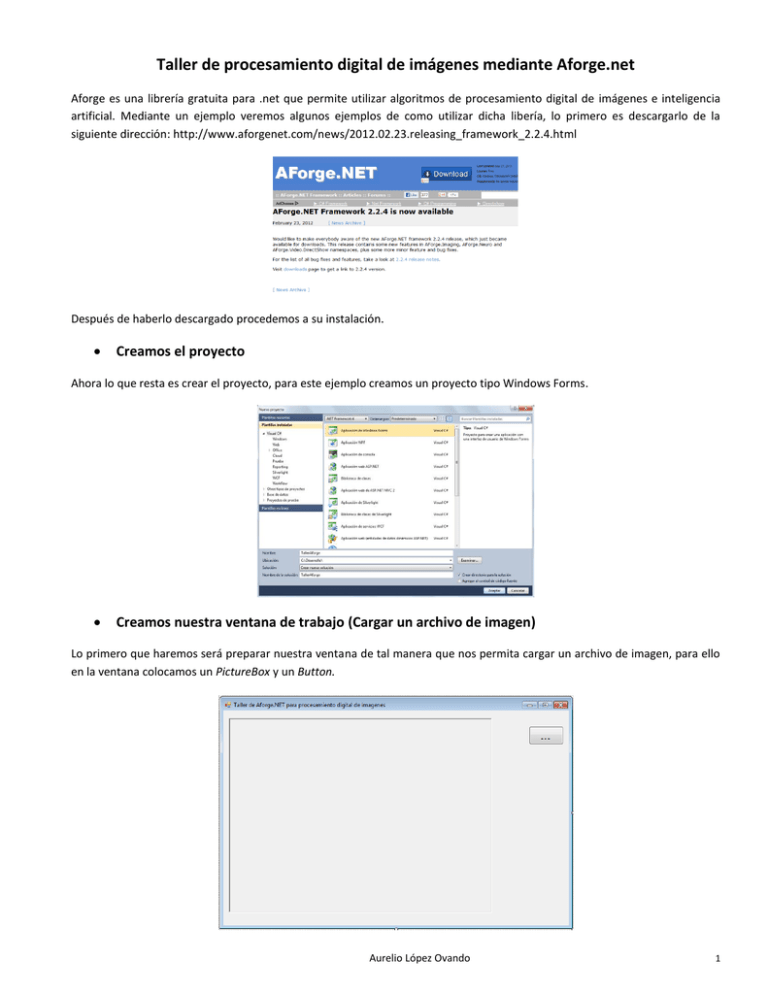
Aforge es una librería gratuita para .net que permite utilizar algoritmos de procesamiento digital de imágenes e inteligencia
artificial. Mediante un ejemplo veremos algunos ejemplos de como utilizar dicha libería, lo primero es descargarlo de la
siguiente dirección: http://www.aforgenet.com/news/2012.02.23.releasing_framework_2.2.4.html
Después de haberlo descargado procedemos a su instalación.
Creamos el proyecto
Ahora lo que resta es crear el proyecto, para este ejemplo creamos un proyecto tipo Windows Forms.
Creamos nuestra ventana de trabajo (Cargar un archivo de imagen)
Lo primero que haremos será preparar nuestra ventana de tal manera que nos permita cargar un archivo de imagen, para ello
en la ventana colocamos un PictureBox y un Button.
Aurelio López Ovando
1
Propiedades del Form
Name”frmPrincipal”
Text = “Talle de Aforge para procesamiento digital de imagenes”.
WindowsState = “Maximized”
Propiedades del PictureBox
Name = “imgOriginal”
SizeMode = “AutoZize”
Propiedades del Button
Name = “btnLoadImage”.
Text = “…”
Font – Size = “18”.
Font – Bold = “True”.
Hasta este momento nuestro código debe estar asi:
public partial class frmPrincipal : Form
{
Bitmap original = null;
public frmPrincipal()
{
InitializeComponent();
}
private void btnLoadImage_Click(object sender, EventArgs e)
{
OpenFileDialog f = new OpenFileDialog();
f.Filter = "Imagenes|*.jpg;*.gif;*.png;*.bmp";
if (f.ShowDialog() == DialogResult.OK)
{
imgOriginal.Image = System.Drawing.Image.FromFile(f.FileName);
original = (Bitmap)imgOriginal.Image;
}
}
}
Agregar las librerías de Aforge
Una vez instalado Aforge ya podemos hacer uso de las librerías que ofrece, pero para ello debemos agregarlas al proyecto.
Aurelio López Ovando
2
Escogemos las librerías: Aforge.dll, Aforge.Imaging.dll, Aforge.Imaging.Formats.dll, AforgrMath.dll.
Agregar una nueva ventana que nos sirva como visor de los cambios realizados.
Vamos a crear una nueva ventana que nos va a servir para ir viendo los cambios realizados a la imagen original, agregamos al
proyecto un “Nuevo Elemento” tipo Windows Form al que llamaremos “_Visor”
En esta nueva ventana colocamos un PictureBox al que pondremos como nombre: “imgVisor”.
En el contructor colocamos el siguiente código:
public _Visor(Image img, string titulo)
{
InitializeComponent();
imgVisor.Image = img;
this.Text = titulo;
this.Width = img.Width + 40;
this.Height = img.Height + 100;
imgVisor.SizeMode = PictureBoxSizeMode.AutoSize;
}
Aurelio López Ovando
3
Agregamos una clase que nos permita utilizar las rutinas de Aforge
Agregamos al proyecto una clase a la que llamaremos “AforgeAlgoritmos” y la primera rutina que haremos será convertir una
imagen a escala de grises.
using
using
using
using
System.Text;
System.Drawing;
System.Windows.Forms;
System.Drawing.Imaging;
using
using
using
using
using
using
AForge;
AForge.Imaging.Filters;
AForge.Imaging.ColorReduction;
AForge.Imaging.Formats;
AForge.Imaging;
AForge.Math.Geometry;
namespace TallerAforge
{
class AforgeAlgoritmos
{
public static Bitmap EscalaGrises(Bitmap image)
{
try
{
AForge.Imaging.Filters.Grayscale filter = new AForge.Imaging.Filters.Grayscale(0.30, 0.59, 0.11);
System.Drawing.Bitmap newImage = filter.Apply(image);
return newImage;
}
catch (ArgumentException ex)
{
MessageBox.Show("No se puede apllicar el filtro" + ex.ToString(), "Error", MessageBoxButtons.OK,
MessageBoxIcon.Error);
return null;
}
}
}
Para probarlo agregamos un nuevo Button al formulario principal al que llamaremos “btnGray” y colocamos el siguiente
código:
private void btnGray_Click(object sender, EventArgs e)
{
Bitmap img = AforgeAlgoritmos.EscalaGrises(original);
_Visor imgModificada = new _Visor(img, "Imagen en escala de grises");
imgModificada.Show();
}
Bordes sobel y canny
La siguiente práctica consiste en detectar los bordes sobel y Canny, para eso agregamos dos nuevo métodos a la clase con el
siguiente código:
public static Bitmap sobel(Bitmap image)
{
try
{
Bitmap gris = EscalaGrises(image);
AForge.Imaging.Filters.SobelEdgeDetector filter = new AForge.Imaging.Filters.SobelEdgeDetector();
System.Drawing.Bitmap newImage = filter.Apply(gris);
return newImage;
}
catch (ArgumentException ex)
{
MessageBox.Show(ex.ToString(), "Error", MessageBoxButtons.OK, MessageBoxIcon.Error);
return null;
}
}
Aurelio López Ovando
4
public static Bitmap canny(Bitmap image)
{
try
{
Bitmap gris = EscalaGrises(image);
AForge.Imaging.Filters.CannyEdgeDetector filter = new AForge.Imaging.Filters.CannyEdgeDetector();
System.Drawing.Bitmap newImage = filter.Apply(gris);
return newImage;
}
catch (ArgumentException ex)
{
MessageBox.Show(ex.ToString(), "Error", MessageBoxButtons.OK, MessageBoxIcon.Error);
return null;
}
}
Ahora para implementarlos necesitamos agregar dos Buttons en el formulario principal a los que llamaremos “btnSobel” y
“btnCanny”
Con sus correspondientes códigos:
private void btnSobel_Click(object sender, EventArgs e)
{
Bitmap img = AforgeAlgoritmos.sobelX(original);
_Visor imgModificada = new _Visor(img, "Bordes Sobel");
imgModificada.Show();
}
private void btnCanny_Click(object sender, EventArgs e)
{
Bitmap img = AforgeAlgoritmos.canny(original);
_Visor imgModificada = new _Visor(img, "Bordes Canny");
imgModificada.Show();
}
Separar colores RGB
En la siguiente práctica separaremos los colores primarios de la luz RGB, primero en la clase “AforgeAlgoritmos” agregamos los
siguientes tres métodos.
public static Bitmap getRojo(Bitmap image)
{
try
{
AForge.Imaging.Filters.ChannelFiltering filter = new ChannelFiltering(new IntRange(0, 255), new IntRange(0,
0), new IntRange(0, 0));
System.Drawing.Bitmap newImage = filter.Apply(image);
return newImage;
}
catch (ArgumentException ex)
{
MessageBox.Show("No se puede apllicar el filtro" + ex.ToString(), "Error", MessageBoxButtons.OK,
MessageBoxIcon.Error);
return null;
}
}
Aurelio López Ovando
5
public static Bitmap getVerde(Bitmap image)
{
try
{
AForge.Imaging.Filters.ChannelFiltering filter = new ChannelFiltering(new IntRange(0, 0), new IntRange(0,
255), new IntRange(0, 0));
System.Drawing.Bitmap newImage = filter.Apply(image);
return newImage;
}
catch (ArgumentException ex)
{
MessageBox.Show("No se puede apllicar el filtro" + ex.ToString(), "Error", MessageBoxButtons.OK,
MessageBoxIcon.Error);
return null;
}
}
public static Bitmap getAzul(Bitmap image)
{
try
{
AForge.Imaging.Filters.ChannelFiltering filter = new ChannelFiltering(new IntRange(0, 0), new IntRange(0, 0),
new IntRange(0, 255));
System.Drawing.Bitmap newImage = filter.Apply(image);
return newImage;
}
catch (ArgumentException ex)
{
MessageBox.Show("No se puede apllicar el filtro" + ex.ToString(), "Error", MessageBoxButtons.OK,
MessageBoxIcon.Error);
return null;
}
}
Para implementarlo agregamos 3 nuevos botones
Y sus respectivos códigos:
private void btnRojo_Click(object sender, EventArgs e)
{
Bitmap img = AforgeAlgoritmos.getRojo(original);
_Visor imgModificada = new _Visor(img, "Color verde");
imgModificada.Show();
}
private void btnVerde_Click(object sender, EventArgs e)
{
Bitmap img = AforgeAlgoritmos.getVerde(original);
_Visor imgModificada = new _Visor(img, "Color verde");
imgModificada.Show();
}
private void btnAzul_Click(object sender, EventArgs e)
{
Bitmap img = AforgeAlgoritmos.getAzul(original);
_Visor imgModificada = new _Visor(img, "Color verde");
imgModificada.Show();
}
Aurelio López Ovando
6
Detectar áreas rectangulares
Terminamos con una última práctica que consistirá en detectar áreas rectangulares en una imagen, agregamos los siguientes
método en la clase “AforgeAlgoritmos”.
public static Bitmap buscaRectangulos(Bitmap bitmap)
{
Blob[] blobs;
Rectangle area = new Rectangle(0, 0, bitmap.Width, bitmap.Height);
// lock image
BitmapData bitmapData = bitmap.LockBits(area, ImageLockMode.ReadWrite, bitmap.PixelFormat);
// Filtramos la imagen para determinar hasts cuando de ROJO, VERDE Y AZUL se permitirá analizar
ColorFiltering colorFilter = new ColorFiltering();
colorFilter.Red = new IntRange(0, 104);
colorFilter.Green = new IntRange(0, 104);
colorFilter.Blue = new IntRange(0, 104);
colorFilter.FillOutsideRange = false;
colorFilter.ApplyInPlace(bitmapData);
// Localizamos objetos en la imagen
BlobCounter blobCounter = new BlobCounter();
blobCounter.FilterBlobs = true;
blobCounter.MinHeight = 15;
blobCounter.MinWidth = 15;
blobCounter.ProcessImage(bitmapData);
blobs = blobCounter.GetObjectsInformation();
bitmap.UnlockBits(bitmapData);
// step 3 - check objects' type and highlight
SimpleShapeChecker shapeChecker = new SimpleShapeChecker();
Graphics g = Graphics.FromImage(bitmap);
Pen yellowPen = new Pen(Color.Yellow, 2);
// Para cada figuura encontrada
for (int i = 0, n = blobs.Length; i < n; i++)
{
List<IntPoint> edgePoints = blobCounter.GetBlobsEdgePoints(blobs[i]);
List<IntPoint> corners;
// Cuadrado
if (shapeChecker.IsQuadrilateral(edgePoints, out corners))
{
//Obtenemos cuantas esquinas tiene el shape
PolygonSubType subType = shapeChecker.CheckPolygonSubType(corners);
//Pintamos las áreas detectadas
areaInteres(g, corners);
}
}
//yellowPen.Dispose();
g.Dispose();
// put new image to clipboard
Clipboard.SetDataObject(bitmap);
// and to picture box
return (bitmap);
}
//---Dibuja unas lineas alrededor de un candidato a rostro
public static void areaInteres(Graphics g, List<IntPoint> corners)
{
Pen pen = new Pen(Color.Yellow, 2);
Font fuente = new Font("Arial", 8.0f);
Brush b = new SolidBrush(Color.LightYellow);
g.DrawPolygon(pen, ToPointsArray(corners));
}
//Retorna un vector de Points
private static System.Drawing.Point[] ToPointsArray(List<IntPoint> points)
{
System.Drawing.Point[] array = new System.Drawing.Point[points.Count];
for (int i = 0, n = points.Count; i < n; i++)
{
Aurelio
López Ovando
array[i] = new System.Drawing.Point(points[i].X,
points[i].Y);
}
return array;
7
Para implementarlos agregamos un nuevo button al que llamaremos “btnBuscaRectangulos”
Y colocamos el siguiente código.
private void btnBuscaRectangulos_Click(object sender, EventArgs e)
{
Bitmap img = (Bitmap)imgOriginal.Image;
//Del area recortada remarcamos las posibles placas detectadas
Bitmap imgRegion = AforgeAlgoritmos.buscaRectangulos(img);
_Visor imgModificada = new _Visor(imgRegion, "Rectangulos");
imgModificada.Show();
}
El algoritmo se encarga de buscar áreas rectangulares.
Con esto concluimos la breve explicacición del uso de Aforge, queda ed quien esté interesado en seguir conociendo esta
biblioteca que incorpora muchos algoritmos interesante no solo de visión artificial, sino también de algoritmos genéticos,
redes neuronales, lógica difusa, máquinas de soporte vectorial… es cuestión de buscar la documentación correspondiente que
internet hay suficiente.
Saludos.
Aurelio López Ovando
8
